How to Do a Proper Downward Dog: Step-by-Step Instructions
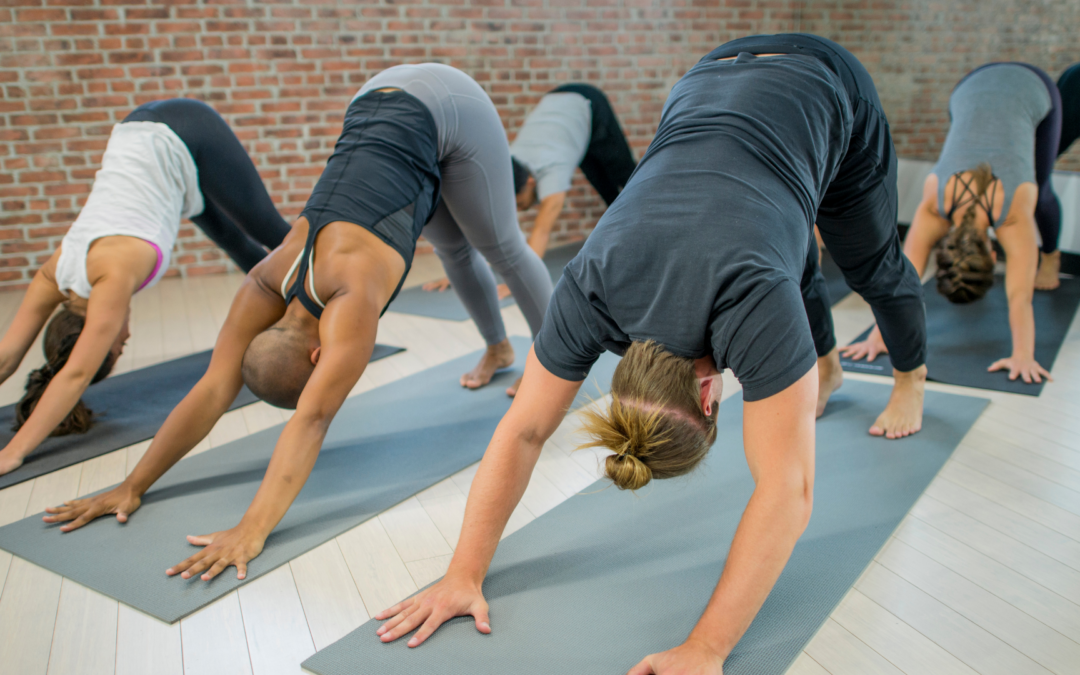
Downward-Facing Dog, or Adho Mukha Svanasana in Sanskrit, is one of the most recognizable and essential poses in yoga. Whether you are a beginner or an advanced practitioner, mastering this foundational pose is crucial for building strength, flexibility, and balance. Despite its commonality in yoga sequences, many yogis struggle with proper alignment and execution. This guide will provide a comprehensive, step-by-step breakdown of Downward Dog, covering its benefits, modifications, common mistakes, and tips for perfecting the pose.
The Benefits of Downward-Facing Dog
Before diving into the steps, let’s explore why this pose is so beneficial:
- Full-Body Stretch: Downward Dog stretches multiple muscle groups, including the hamstrings, calves, shoulders, and spine. It lengthens the back body while opening up the shoulders and chest. Joining online yoga classes for flexibility helps you to improve your Downward Dog posture.
- Strengthens Key Muscles: This pose actively engages the upper body, including the arms, shoulders, and wrists, as well as the legs and core, making it a full-body strengthening exercise.
- Improves Posture: By promoting spinal elongation and proper weight distribution, Downward Dog helps improve posture and reduces back pain caused by poor alignment.
- Boosts Circulation: Being a mild inversion, this pose encourages blood flow to the brain, improving circulation and providing an energizing effect.
- Enhances Flexibility: Practicing Downward Dog consistently increases flexibility in the hamstrings, calves, and shoulders over time.
- Reduces Stress and Anxiety: Like many yoga poses, Downward Dog has a calming effect on the nervous system, making it a great pose for stress relief.
- Prepares for More Advanced Poses: Many yoga sequences use Downward Dog as a transitional pose, making it an important foundation for progressing to more challenging postures.
Step-by-Step Guide to Performing Downward Dog
1. Start in a Tabletop Position
- Begin on all fours with your hands directly under your shoulders and your knees under your hips.
- Spread your fingers wide to create a solid base and distribute your weight evenly through your palms.
- Keep your spine neutral and engage your core muscles.
2. Tuck Your Toes and Lift Your Hips
- On an exhale, tuck your toes under and lift your knees off the floor.
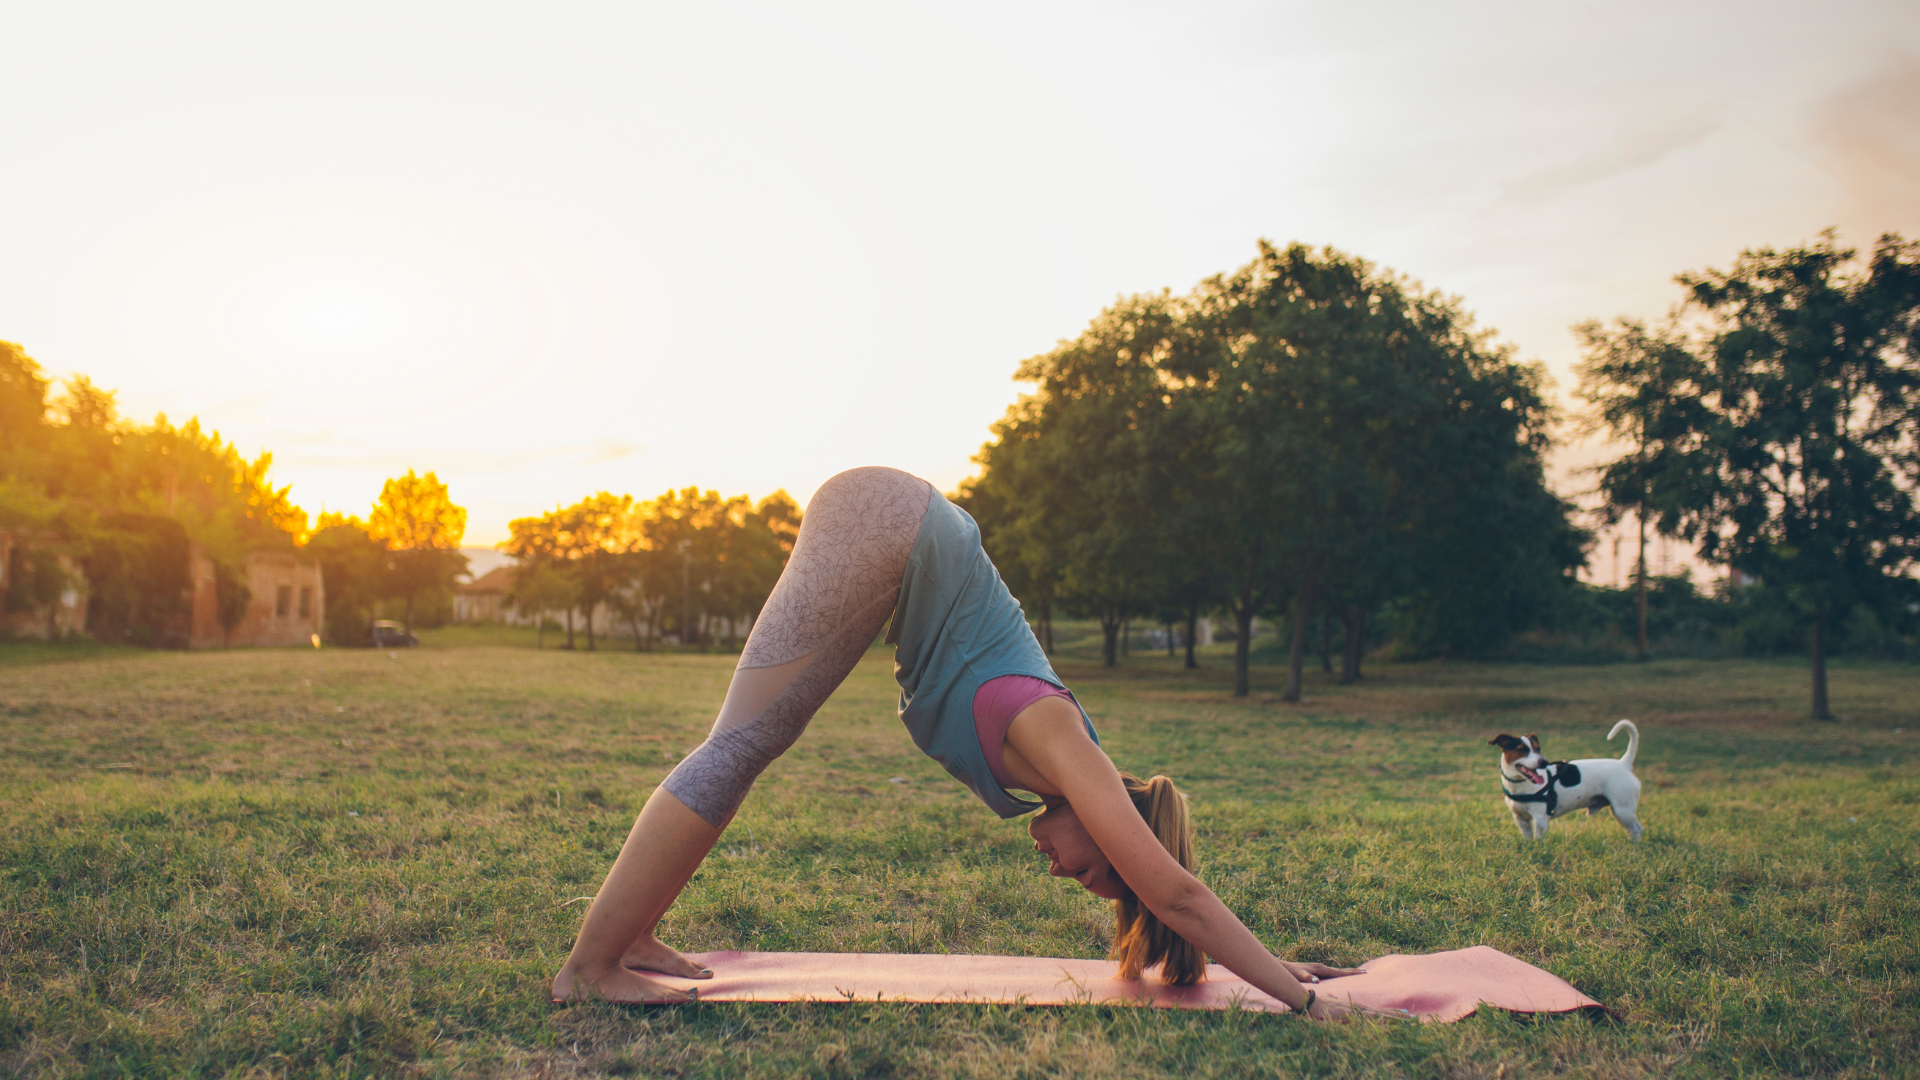
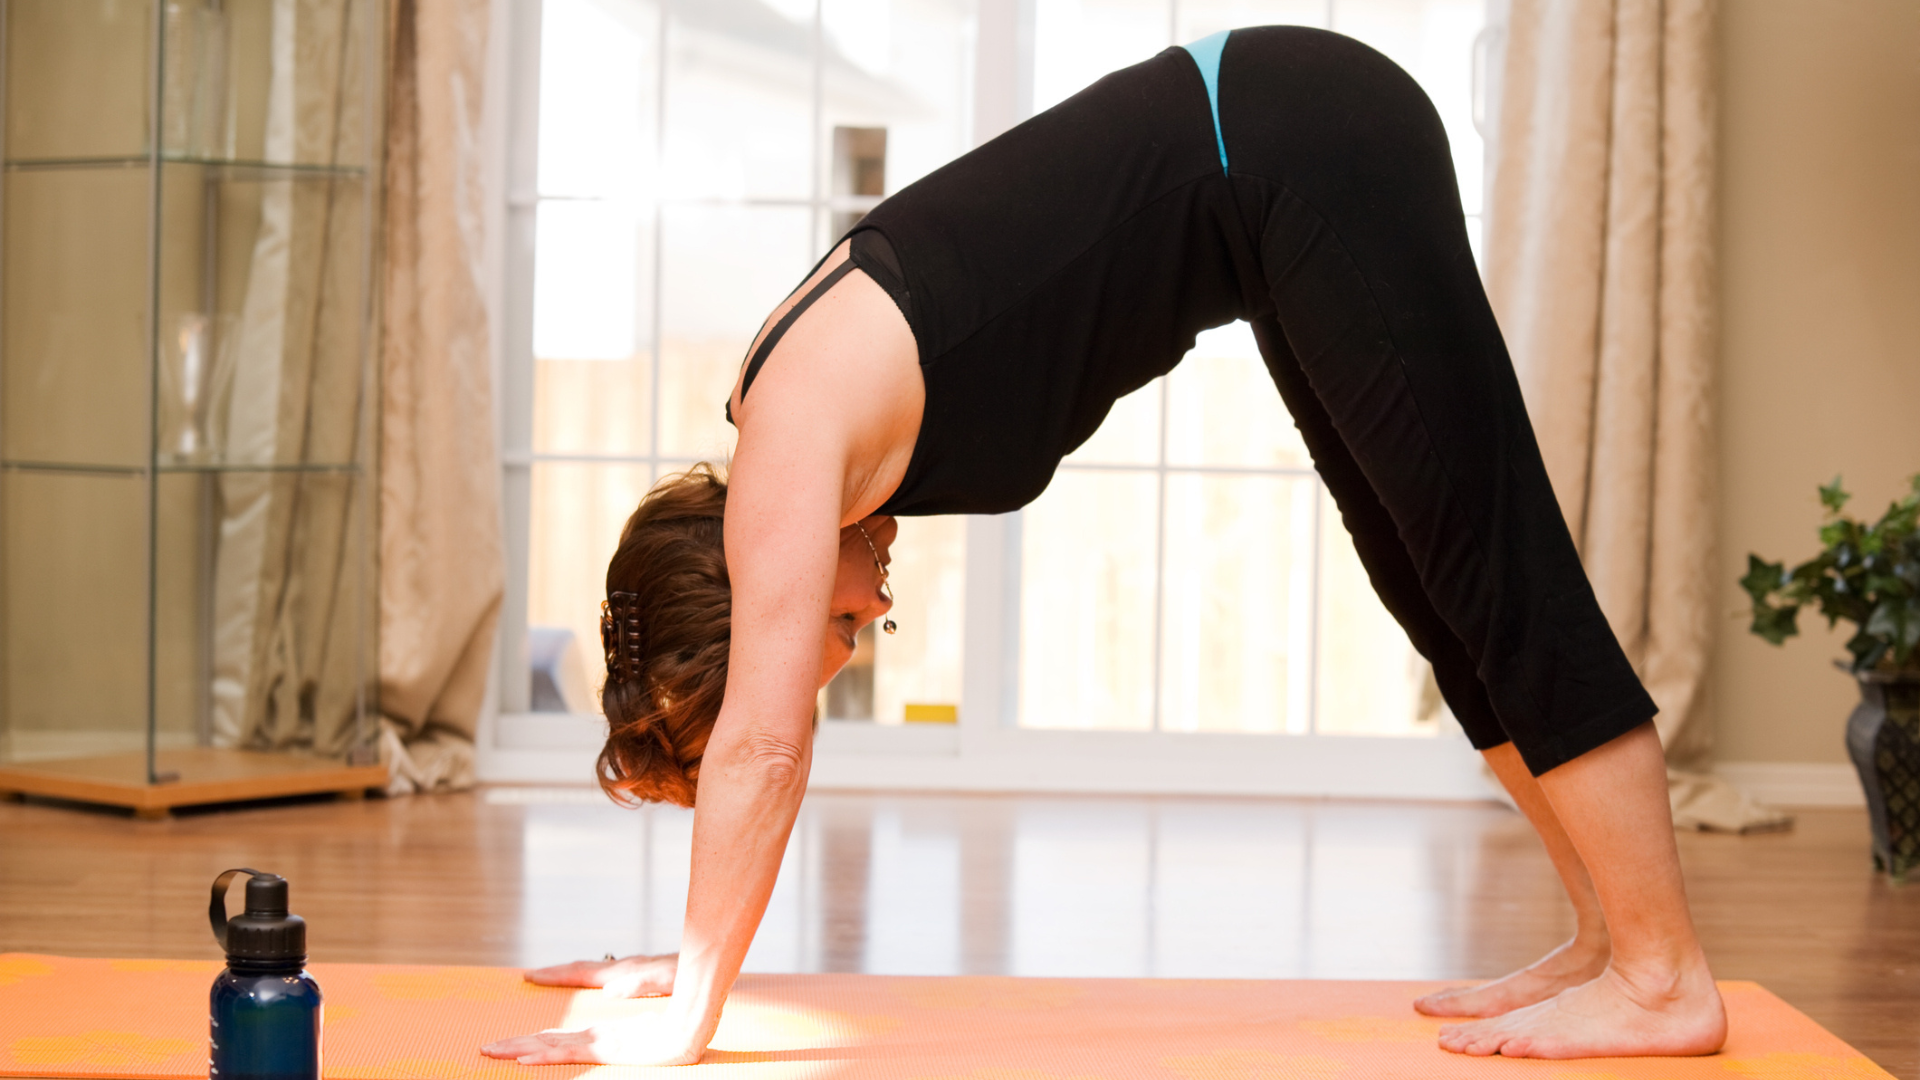
- Push your hips back and up towards the ceiling, creating an inverted “V” shape with your body.
3. Straighten Your Legs Gradually
- Slowly straighten your legs while keeping a slight bend in the knees if your hamstrings are tight.
- Focus on lifting your hips higher rather than forcing your heels to touch the ground.
4. Align Your Spine and Shoulders
- Press your hands firmly into the mat, keeping your arms straight without locking your elbows.
- Draw your shoulder blades down and away from your ears to avoid hunching.
- Keep your head between your upper arms, allowing your neck to remain long and relaxed.
5. Engage Your Core and Legs
- Activate your core muscles to maintain stability and protect your lower back.
- Engage your quadriceps (thigh muscles) to prevent collapsing into your joints.
- Press your heels toward the mat without forcing them down.
6. Hold the Pose and Breathe
- Stay in Downward Dog for at least 5 to 10 breaths, deepening the stretch with each exhale.
- Maintain awareness of your alignment and make necessary micro-adjustments.
7. Exit the Pose Gracefully
- To release, lower your knees back to the mat and return to a tabletop position.
- You can also transition into Child’s Pose for a moment of rest.
As of June 25, 2023, the longest recorded duration for holding the Downward Dog pose (Adho Mukha Svanasana) in India is 1 hour, 30 minutes, and 38 seconds. This record was achieved by Sedhu Ram Kumar in Irugur, Coimbatore District, Tamil Nadu.
Modifications and Variations for Different Levels
Every body is different, so adjustments may be necessary to find comfort in Downward Dog:
- For Beginners:
- Keep your knees slightly bent to avoid straining tight hamstrings.
- Place a rolled-up blanket under your heels for extra support.
- For Wrist Pain:
- Distribute your weight evenly between your hands and feet.
- Try using yoga blocks under your hands to alleviate pressure on your wrists.
- For Shoulder Tightness:
- Widen your hand placement slightly to create more space.
- Focus on drawing your shoulder blades down your back rather than pressing them together.
- For Advanced Practitioners:
- Experiment with lifting one leg up at a time (Three-Legged Dog) for an added challenge.
- Engage your core more deeply to create a lighter feeling in your upper body.
Common Mistakes and How to Fix Them
Even seasoned yogis make mistakes in Downward Dog. Here’s what to watch out for:
- Rounding the Back: Ensure your spine stays long by actively pressing your hands into the mat and lifting your hips.
- Collapsing into the Shoulders: Keep your shoulders away from your ears to maintain proper engagement.
- Too Much Weight in the Hands: Shift more weight towards your legs to prevent overloading your wrists.
- Feet Too Close Together or Too Far Apart: Aim for hip-width distance between your feet for optimal alignment.
- Holding Your Breath: Always focus on steady, deep breathing to enhance relaxation and endurance.
Tips for Perfecting Your Downward Dog
- Warm Up Properly: Stretch your hamstrings, shoulders, and wrists before practicing Downward Dog.
- Use Props: A yoga block under the hands or a strap around the arms can provide extra stability.
- Practice Consistently: The more you practice, the more natural the pose will feel over time.
- Engage Your Core: A strong core helps distribute weight evenly and prevents collapsing into the lower back.
- Listen to Your Body: Avoid forcing yourself into the position—modify as needed to suit your level.
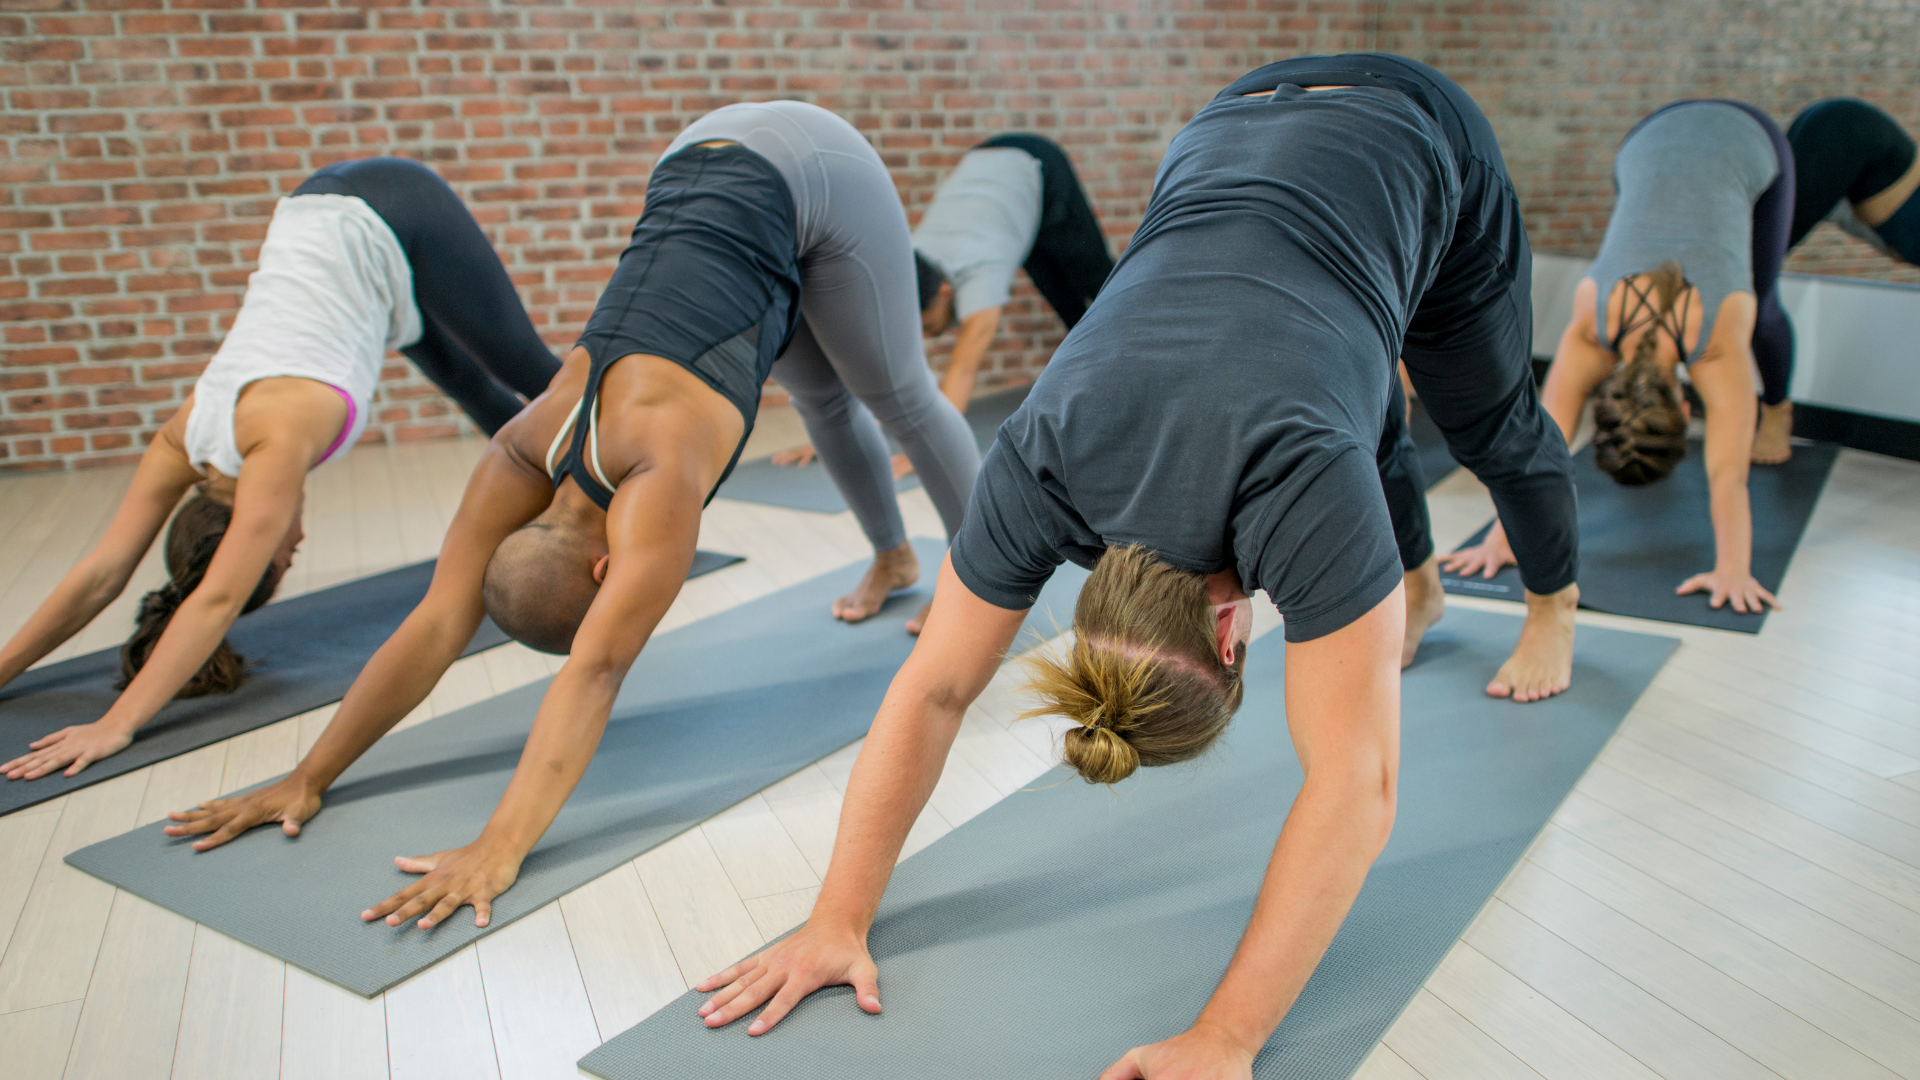
Incorporating Downward Dog into Your Yoga Routine
Downward Dog is incredibly versatile and can be included in various parts of your practice:
- As a Warm-Up: Use it to stretch and prepare your body before moving into more intense poses.
- As a Transitional Pose: It serves as a bridge between different postures, such as from standing poses to seated ones.
- As a Resting Pose: Many yoga styles, including Vinyasa and Ashtanga, use Downward Dog as a moment of active recovery.
Conclusion
Mastering Downward Dog enhances your yoga practice by building strength, flexibility, and mental clarity. By focusing on proper alignment, making necessary modifications, and practicing regularly, you will reap the full benefits of this foundational pose. Remember that online yoga classes are a journey—be patient with your progress and enjoy the process of deepening your practice.
If you’re new to yoga or experiencing any discomfort in Downward Dog, consider working with a certified yoga instructor to refine your technique and prevent injury.
Inquiry
If you have any questions, please feel free to reach out. We’ll be glad to help!
