Advanced Yoga Poses: Taking Your Practice to the Next Level
So, you’ve been doing yoga for a while now. You’ve nailed the downward dog, mastered the tree pose, and probably even found your zen in the child’s pose a few times. But now you’re ready to level up. You want to feel the burn, challenge your balance, and maybe even impress yourself with some of those worthy poses. Welcome to the world of advanced yoga!
But hold up – before we dive into crazy headstands and gravity-defying splits, let’s take a chill pill and remember that online yoga classes isn’t about “winning” or contorting into a pretzel. It’s about connecting with your body, listening to your breath, and being present. When you’re ready to explore more advanced poses, it’s key to approach them with the same mindset of mindfulness and patience that you’ve cultivated in your practice so far. Ready to go? Let’s do this!
Why Get into Advanced Yoga?
First off, why should you even want to try these harder poses? Advanced yoga poses bring a whole new level of strength, flexibility, balance, and body awareness. They test your physical limits but also push you to sharpen your mental focus. Plus, there’s something super satisfying about achieving a pose you once thought was impossible.
Advanced yoga doesn’t just make you stronger physically, it also helps you grow mentally by teaching patience and resilience. You’re not going to master these poses overnight, and that’s part of the beauty. It’s all about the journey, not the final pose!
Warm-Up, Always
Before attempting anything intense, you’ve gotta warm up properly. Seriously, this isn’t optional. Advanced yoga poses require a lot of flexibility, and jumping straight into them without prepping your muscles is a one-way ticket to injury town. Start with basic flows like Sun Salutations, lunges, and stretches to get your body nice and loose.
Now that we’re feeling warm and ready, let’s break down some next-level yoga poses that’ll challenge your practice and up your game.
1. Crow Pose (Bakasana)
Crow pose is often one of the first arm balances yogis encounter on their path to advanced poses. It’s all about balance, core strength, and a sprinkle of confidence.
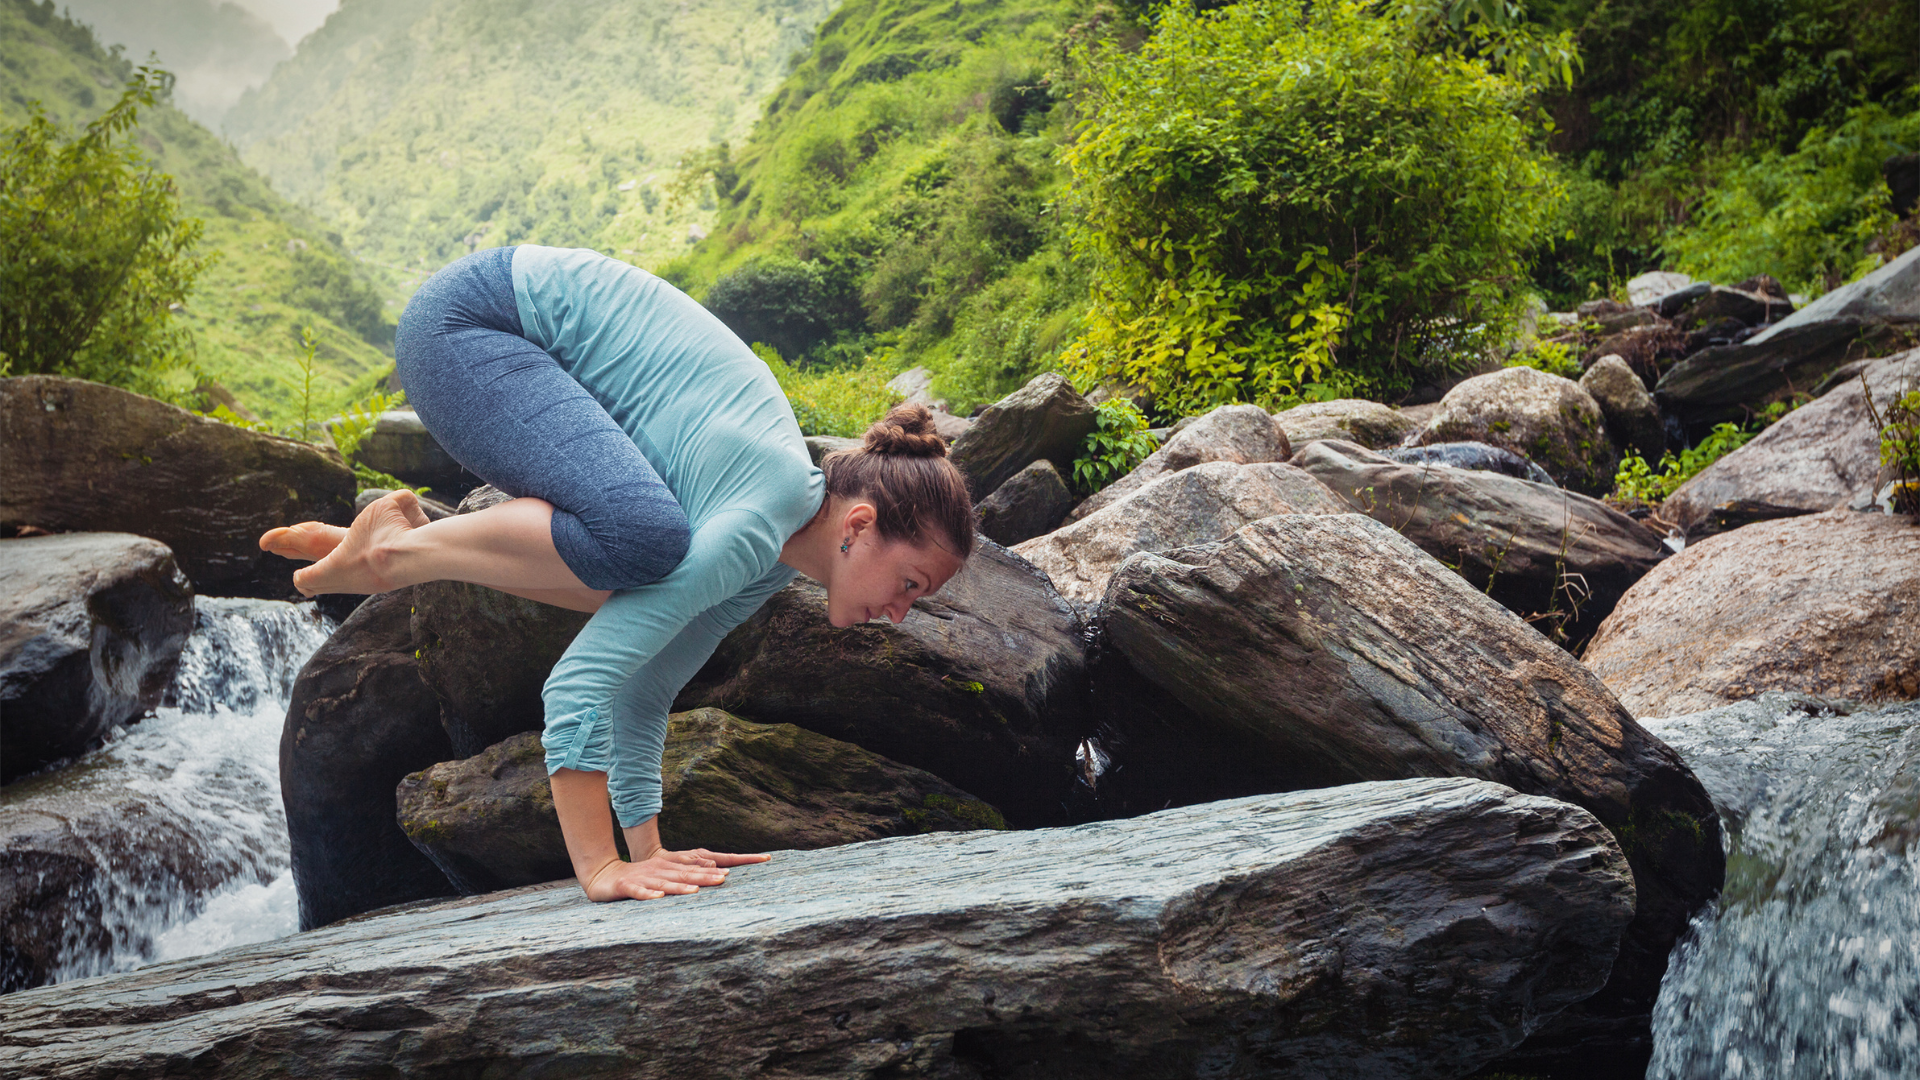
- How to get into it: Start in a squat with your hands flat on the floor in front of you. Spread your fingers wide for extra stability. Then, lift your hips and place your knees on the backs of your upper arms (like little shelves). Engage your core and begin to tip forward, lifting your feet off the ground one at a time. Try to keep your gaze forward instead of looking down at your mat—that’ll help with balance!
- Pro Tip: Keep your core tight! Crow is all about core strength and control. Don’t worry if you face-plant a couple of times, that’s just part of the process.
2. Forearm Stand (Pincha Mayurasana)
Pincha is the fancy cousin of headstand but with a little more sass. It requires strong shoulders, arms, and core to hold your body upright without relying on your head for balance.
- How to get into it: Start on all fours and place your forearms on the mat, making sure your elbows are shoulder-width apart. Kick one leg up like you’re going into a downward dog, then use that momentum to kick the other leg up to meet it. Ideally, you’ll end up in a straight line from head to toe, balancing on your forearms.
- Pro Tip: Practice near a wall when you’re just starting. It’ll give you something to catch yourself against if you’re nervous about falling backward.
3. Wheel Pose (Urdhva Dhanurasana)
Wheel pose is a deep backbend that opens up the chest, shoulders, and spine. It’s intense but super invigorating once you nail it.
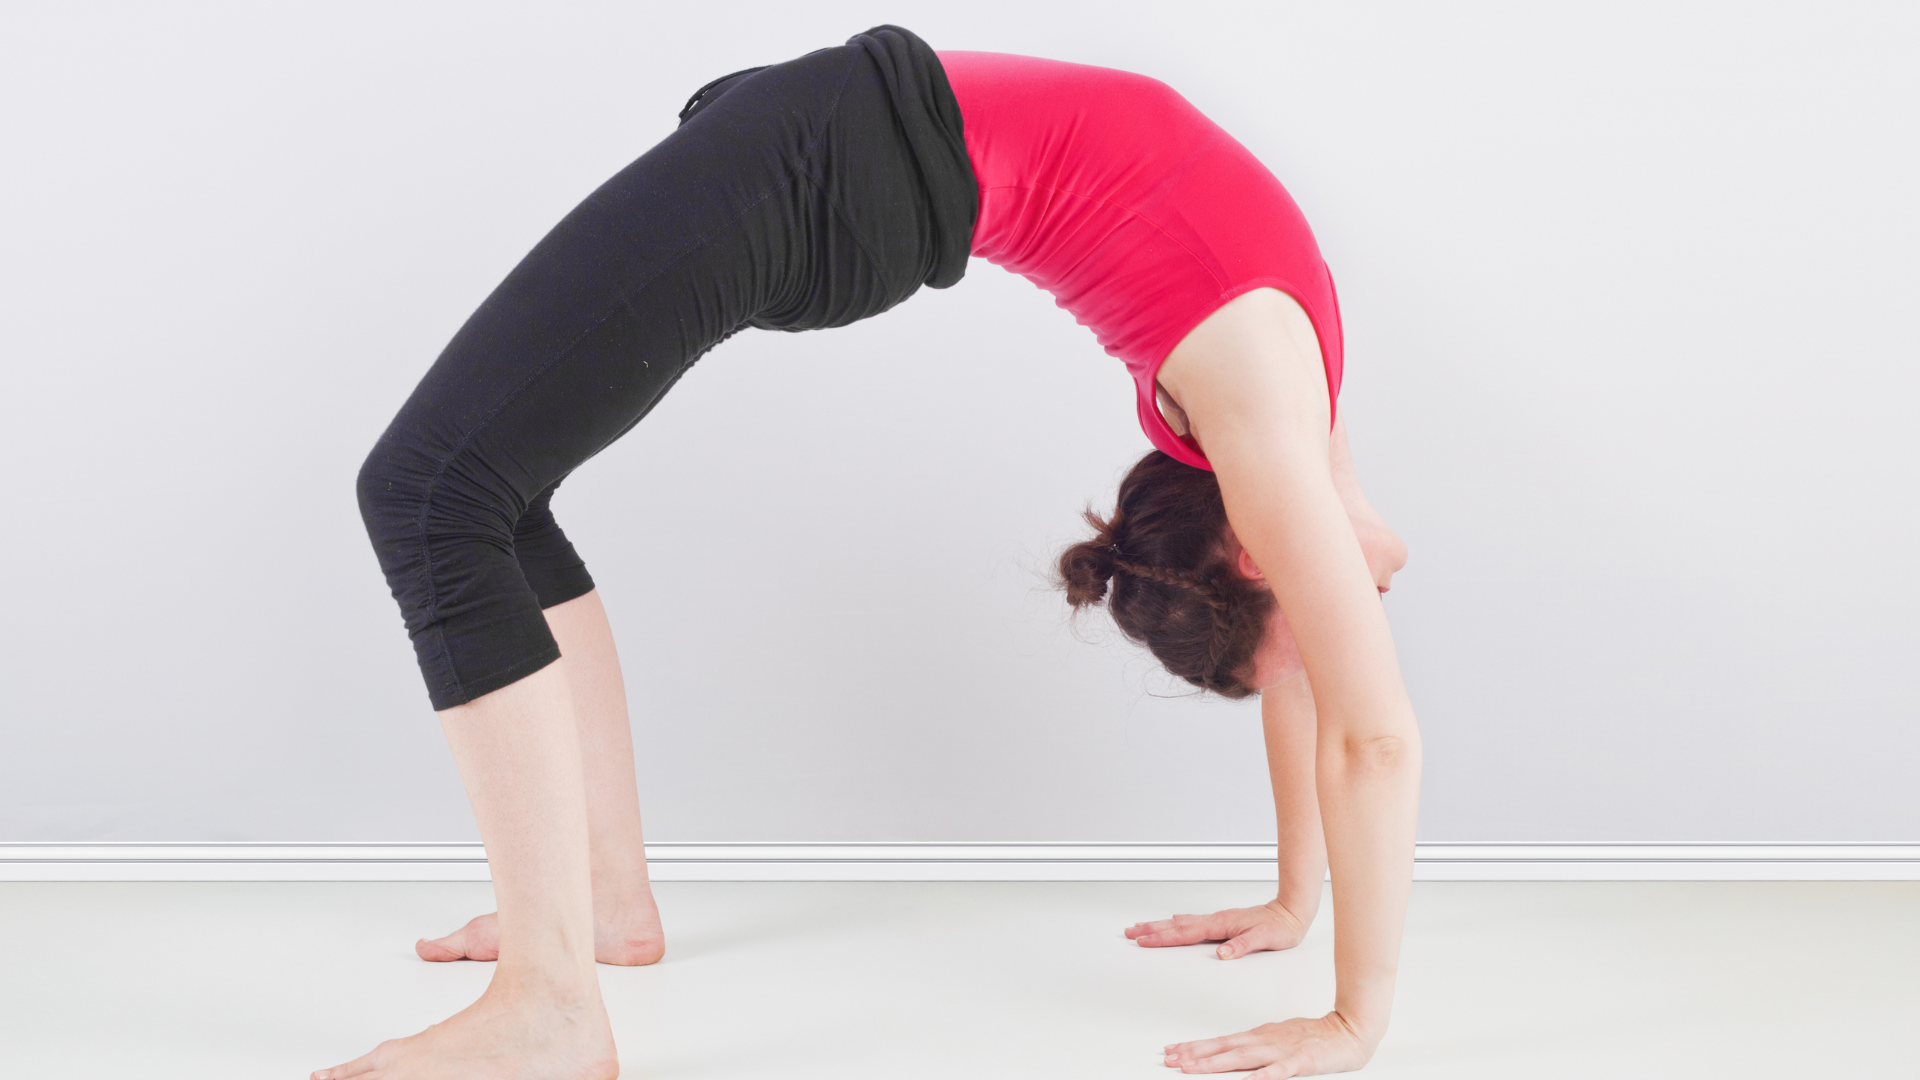
- How to get into it: Lie on your back with your knees bent and feet flat on the floor, close to your hips. Place your hands next to your ears with your fingers pointing toward your feet. Press into your hands and feet, lifting your hips and chest toward the sky. Your head should come off the ground last.
- Pro Tip: Don’t let your knees splay out! Keep them in line with your feet for better alignment and to protect your lower back.
4. Firefly Pose (Tittibhasana)
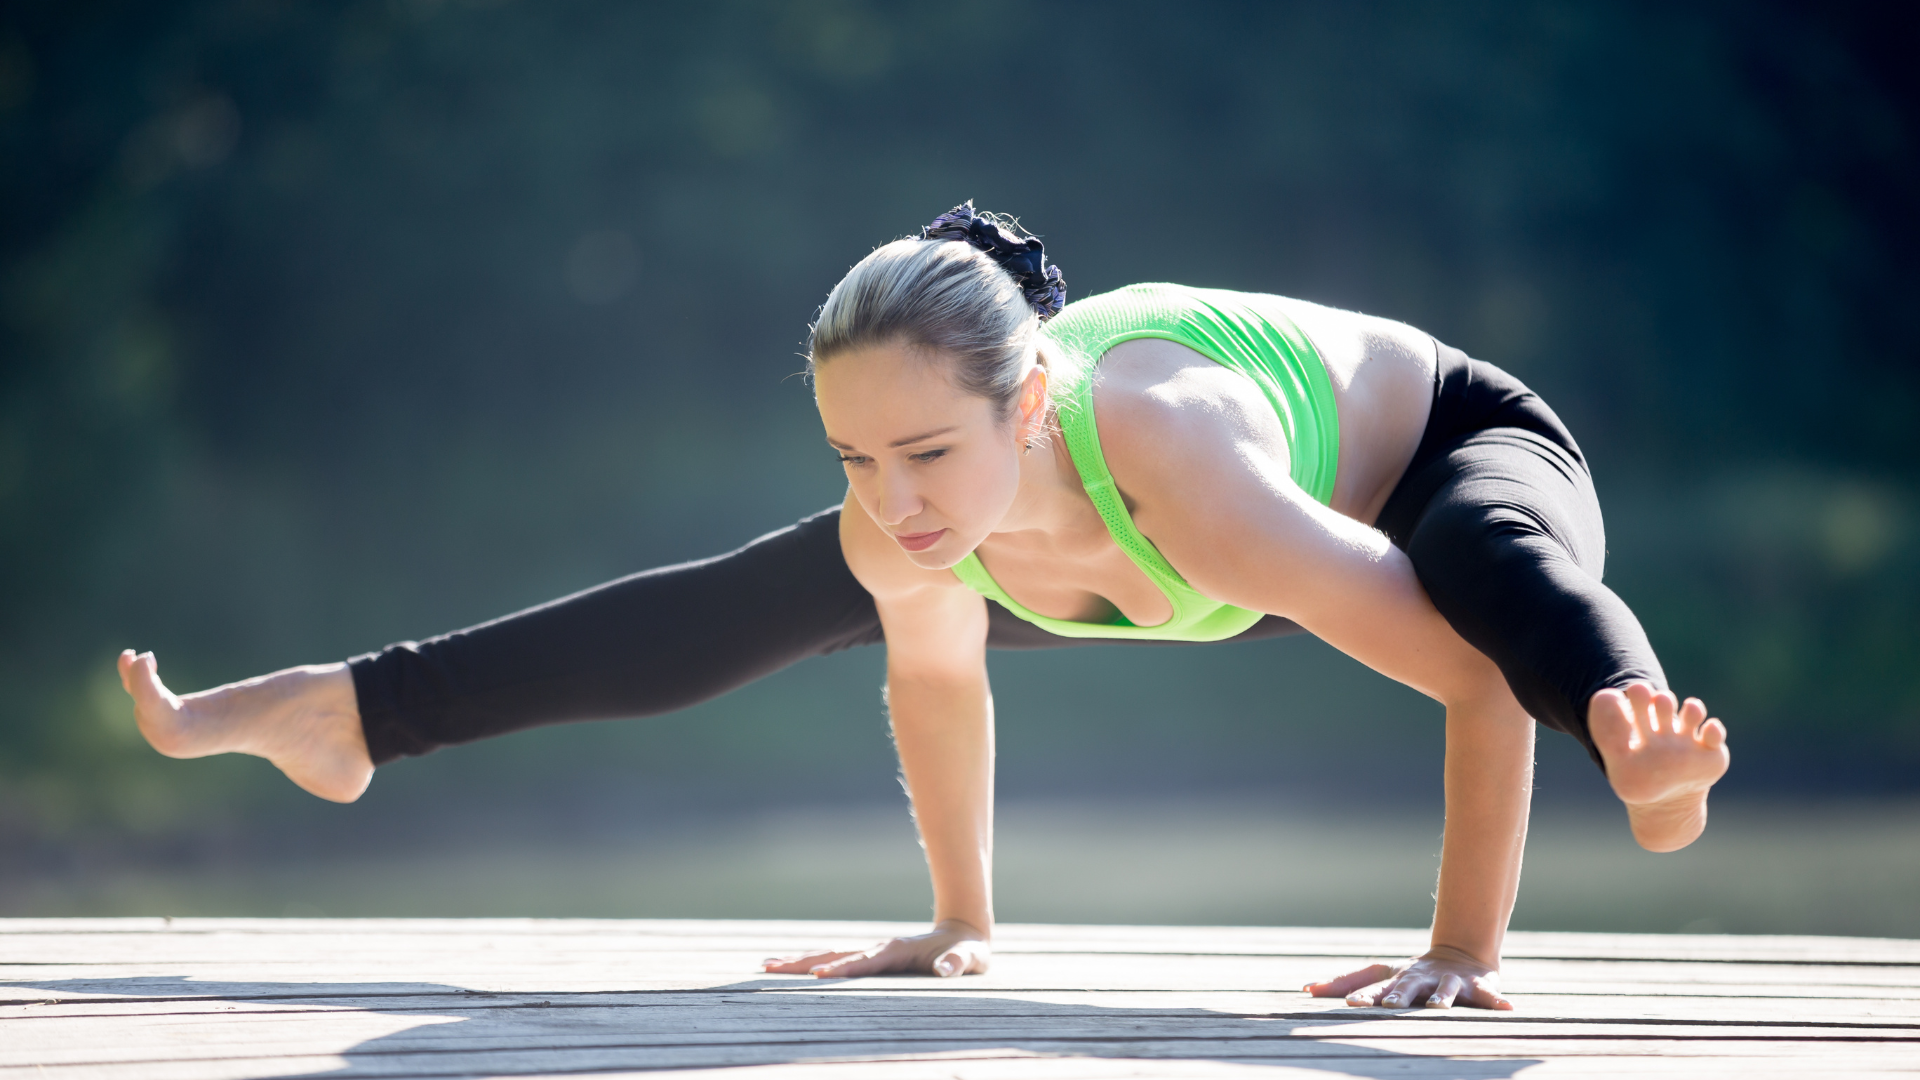
This one is as cool as it sounds and looks! Firefly pose is an arm balance that requires flexible hamstrings and a strong core. The longest duration of tittibhasana is 2 minutes.
- How to get into it: Start in a wide-legged forward fold. Slip your arms underneath your legs, with your hands flat on the mat behind your heels. From there, lift your feet off the ground while straightening your legs, balancing on your hands like you’re about to take flight.
- Pro Tip: You might want to stretch out your hamstrings before trying this one. A few forward folds or splits can loosen things up and make it easier to lift your legs.
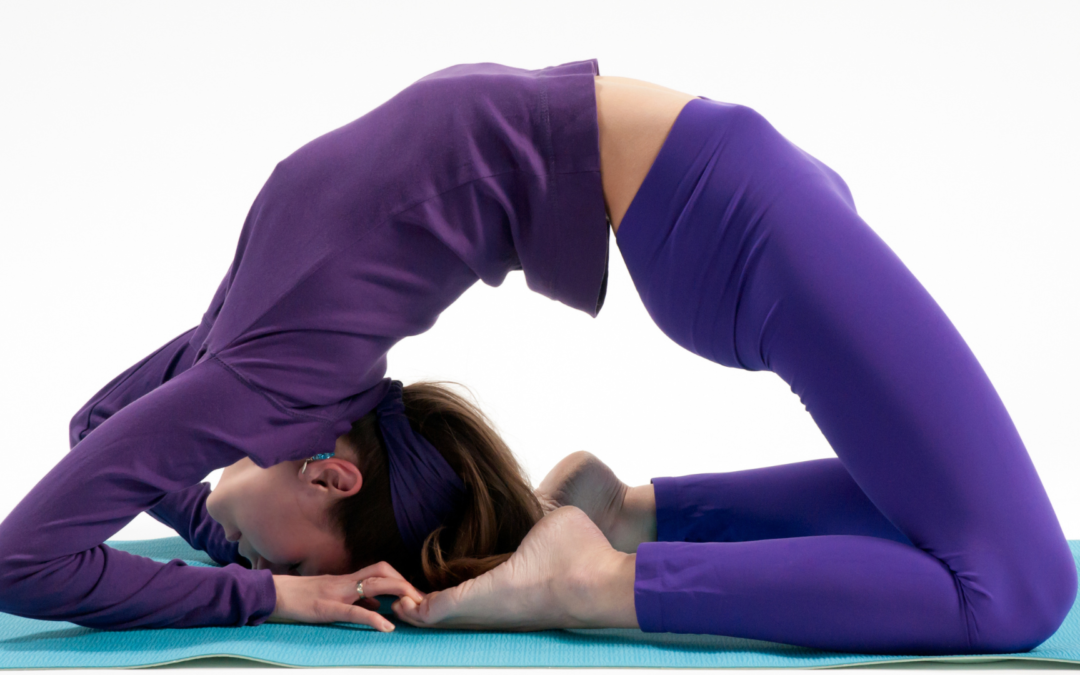
5. King Pigeon Pose (Kapotasana)
For all you backbend lovers out there, King Pigeon is the ultimate heart opener. This pose requires serious flexibility in the back, hips, and shoulders. Not only does it look stunning, but it also feels deeply satisfying once you sink into it.
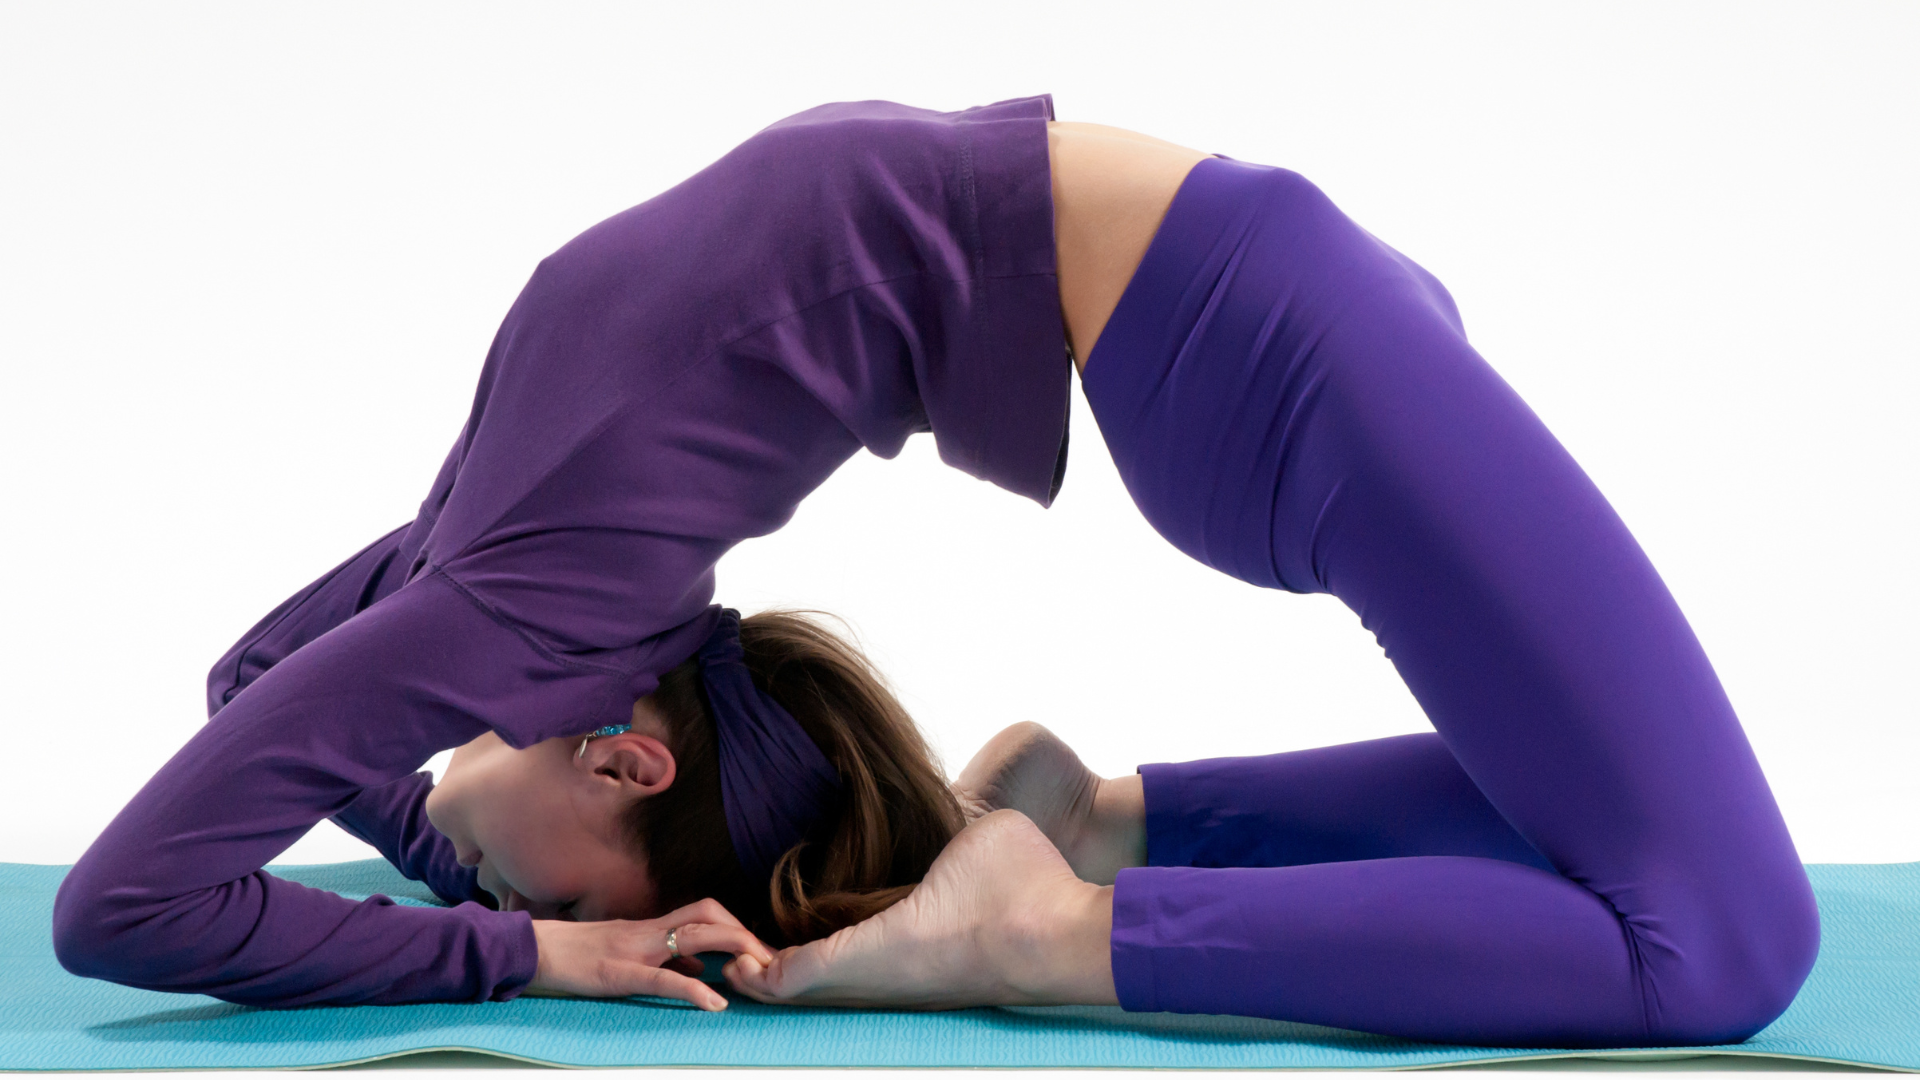
- How to get into it: Start in a regular pigeon pose with one leg bent in front of you and the other extended behind. Grab your back foot with your hand and gently pull it towards your head. If you’re flexible enough, bring your foot to the crown of your head or even clasp both hands behind your back to grip your foot.
- Pro Tip: Don’t force it! If you feel a lot of resistance in your body, take your time. Use a strap or towel to help you grab your foot until you’re more flexible.
6. Eight Angle Pose (Astavakrasana)
This pose is an impressive arm balance that works your core and obliques like crazy. It’s a little tricky, but once you get the hang of it, you’ll feel like a total yoga ninja.
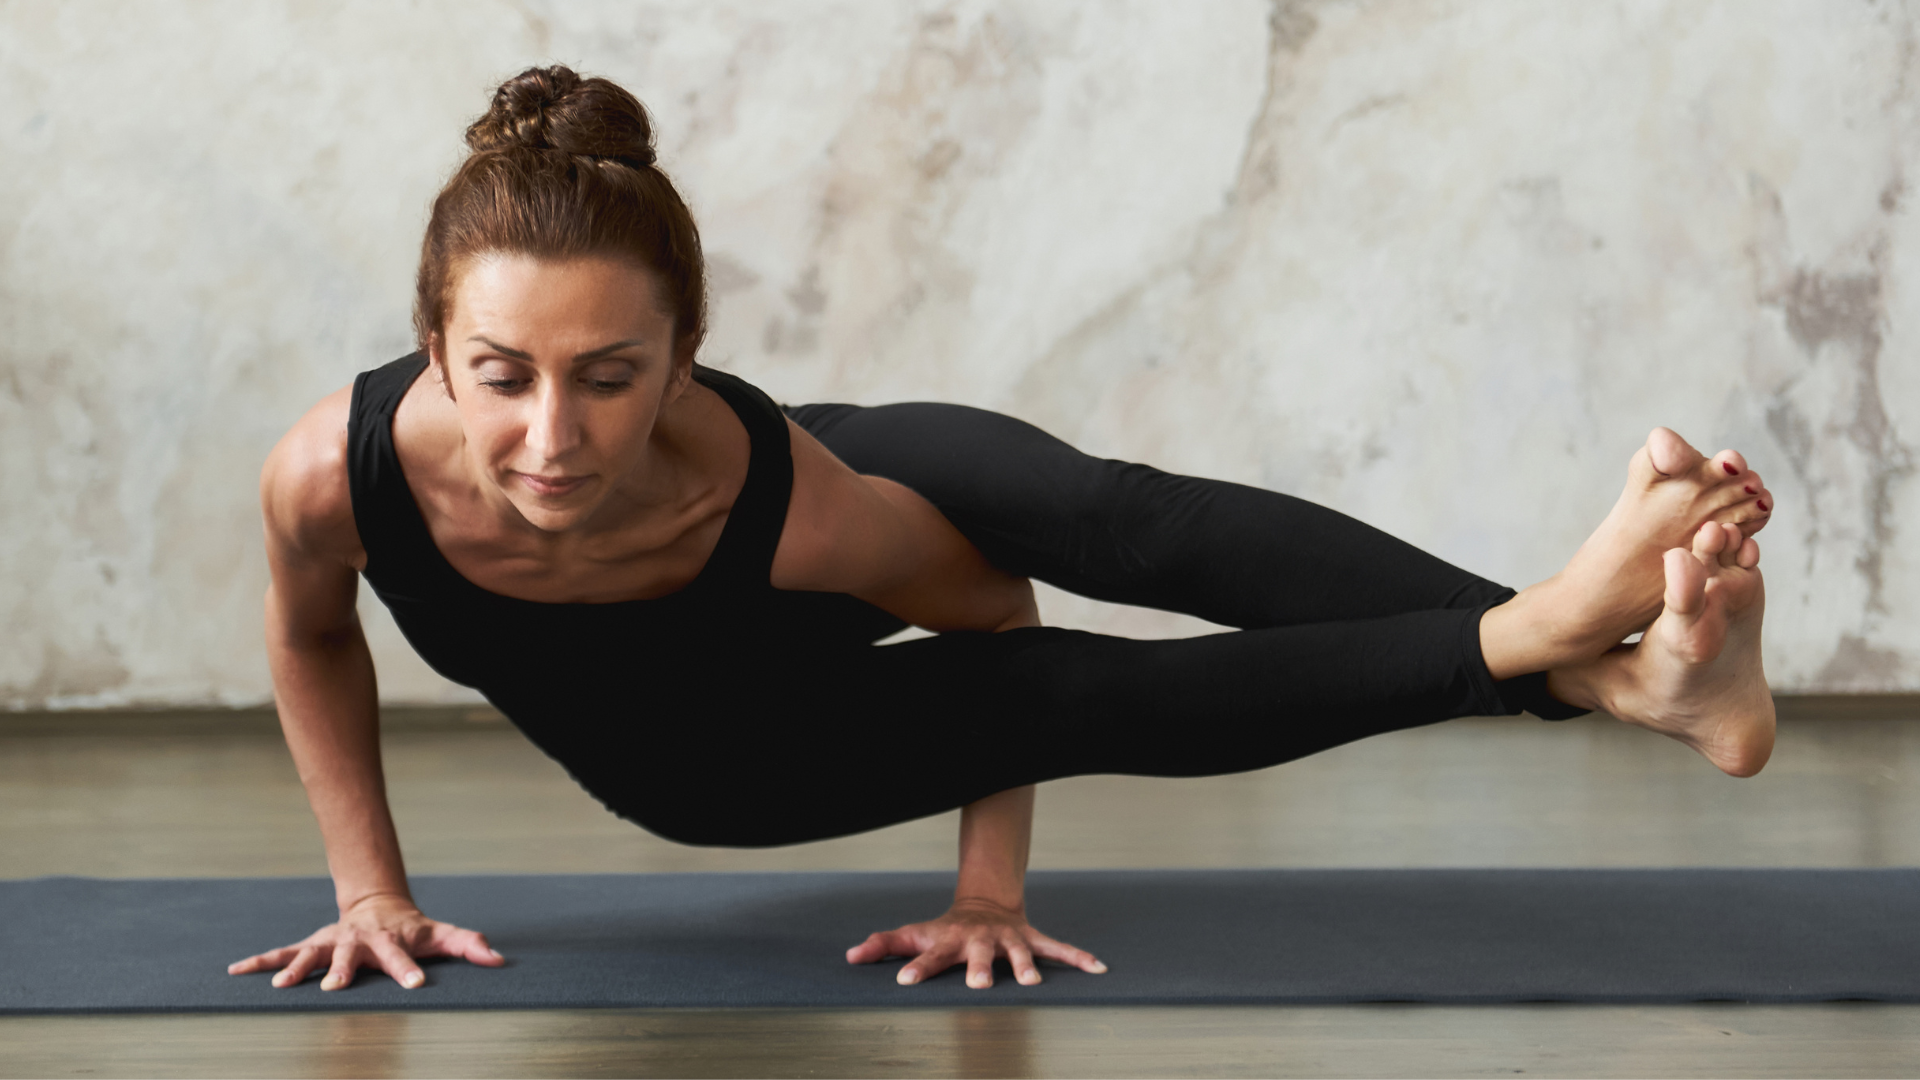
- How to get into it: Start seated with one leg straight and the other bent. Slide your bent leg over your shoulder like you’re wearing it as a backpack. Place your hands on the floor and lift your hips. Cross your ankles and use your core to lower your torso parallel to the floor.
- Pro Tip: Use your legs! Squeezing them together will help you stabilize and keep everything lifted. Oh, and don’t forget to breathe—it helps, trust me.
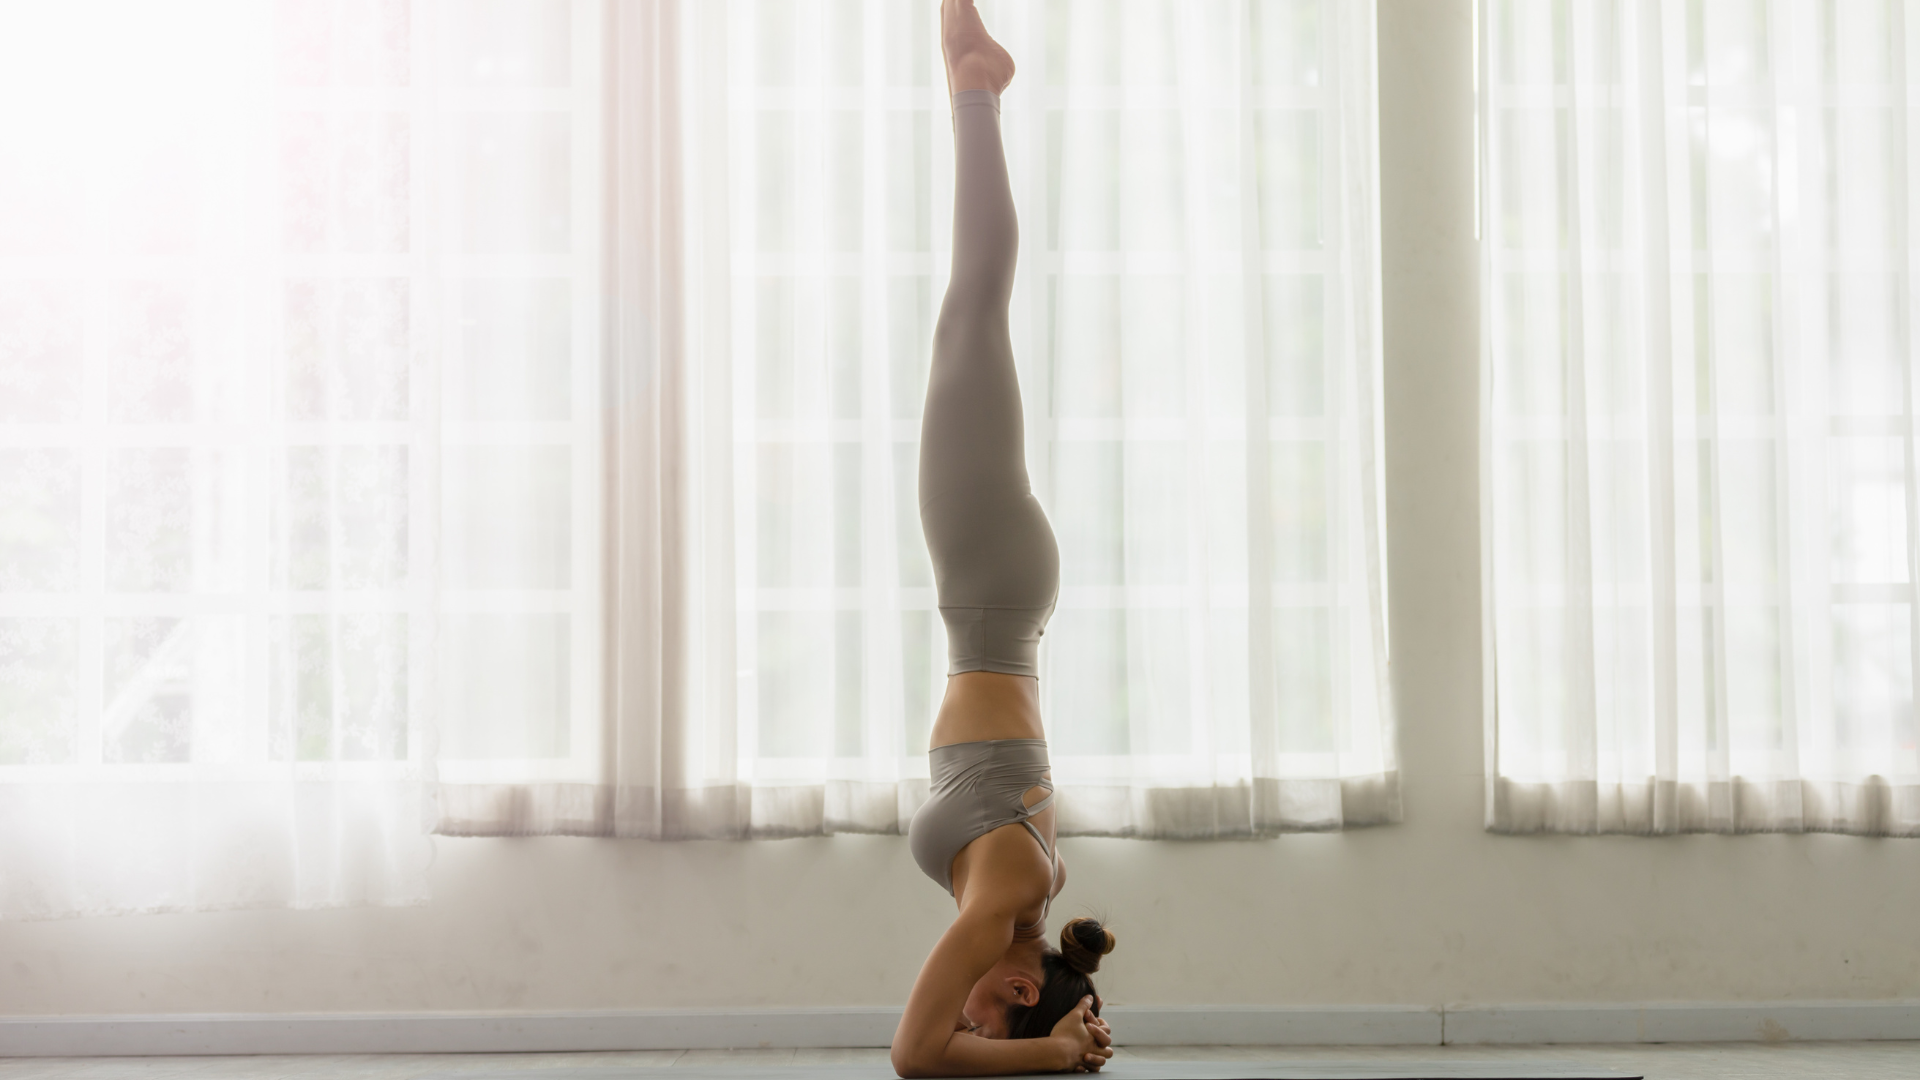
7. Headstand (Sirsasana)
Ah, the classic headstand. This pose is like a rite of passage in the yoga world. It’s challenging, but once you nail it, you’ll feel like a total rockstar.
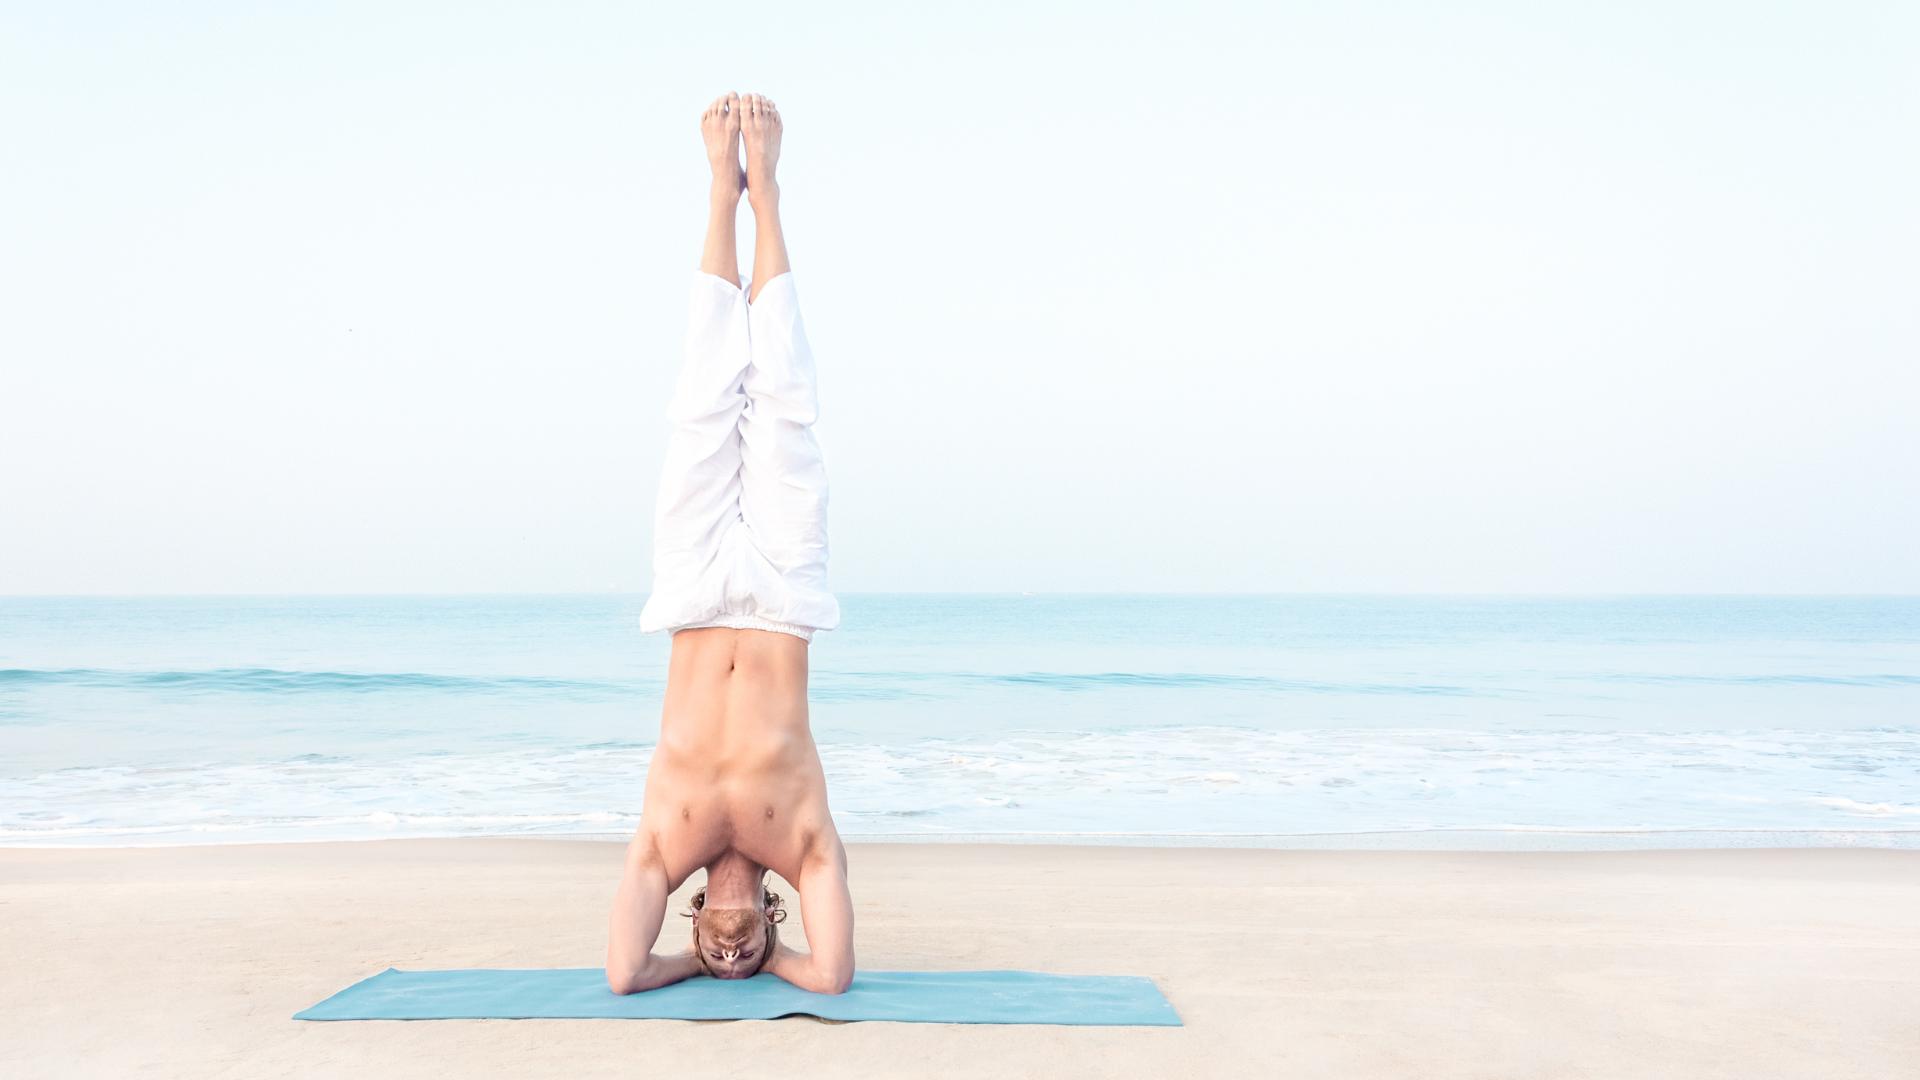
- How to get into it: Start on your hands and knees. Place your forearms on the mat, interlocking your fingers to form a triangle. Rest the crown of your head inside your hands. Lift your hips into a downward dog shape, then walk your feet closer to your elbows. Slowly, lift one leg up and follow with the other, coming into a full inversion.
- Pro Tip: Build core strength before trying this. It’s easy to dump all your weight onto your neck, which isn’t great. Practice near a wall until you’re confident in your balance.
Explore our blog, “How Does Yoga Improve Posture?” to improve your posture with yoga.
Wrapping It Up
So, there you have it—a whole set of advanced yoga poses to test your strength, balance, and flexibility. Remember, regular online yoga classes aren’t a race. These poses will take time and practice, so don’t get discouraged if you don’t nail them right away. Focus on your breath, stay patient, and most importantly, enjoy the process.
Whether you’re aiming for that perfect handstand or simply want to deepen your practice, advanced yoga is all about pushing past your comfort zone—both physically and mentally. So, roll out your mat, put on some chill tunes, and get ready to level up your yoga game!
Inquiry
If you have any questions, please feel free to reach out. We’ll be glad to help!
