How to Use Props in Your Yoga Practice?
Yoga props can totally change the way you approach your practice, making those tricky poses more accessible and helping you feel more grounded, balanced, and aligned. The global yoga props market is growing rapidly as more people adopt yoga and fitness routines. By 2024, it’s expected to be worth about $3.2 billion. Whether you’re new to yoga or a seasoned practitioner, props are like secret weapons for getting deeper into your body and making your practice safer and more effective. So, grab your blocks, straps, and bolsters, and let’s break down how to use props in your yoga practice. Don’t worry—this isn’t about cheating; it’s about practicing smart and feeling great!
What Are Yoga Props?
First things first: what exactly are yoga props? In a nutshell, they’re tools designed to support your body during practice. They help you modify poses, improve alignment, and offer more stability. Props can also deepen your practice by helping you relax more into the poses or providing additional resistance.
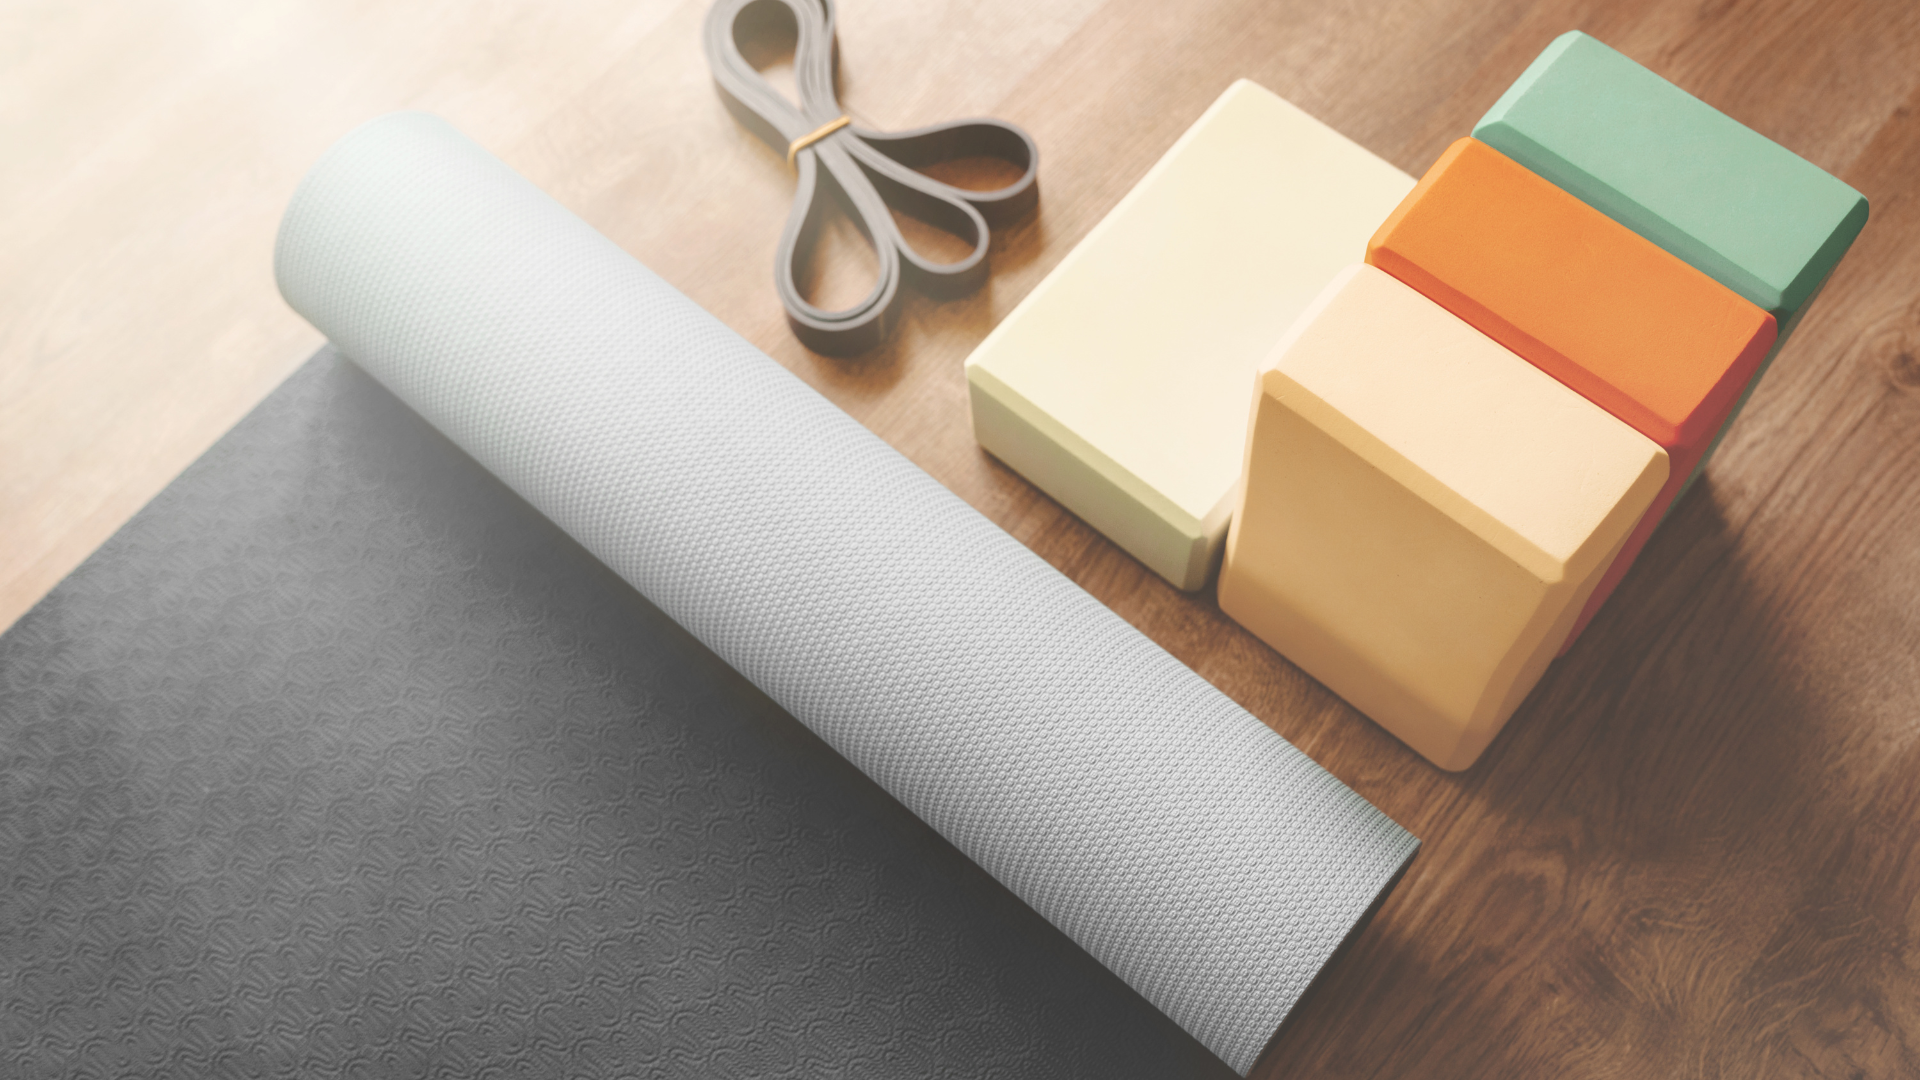
Here are some of the most common yoga props you’ll come across:
- Blocks: Usually made of foam, cork, or wood, these are used to bring the floor closer to you in standing poses or to support your body in seated and reclining postures.
- Straps: These cotton or nylon belts with buckles are used to extend your reach, improve flexibility, or maintain alignment in certain poses.
- Bolsters: These firm cushions come in different shapes and sizes and are great for restorative yoga, helping to support your body so you can fully relax into poses.
- Blankets: Folded blankets can add extra padding under your knees, hips, or head. They’re also perfect for adding comfort during seated postures or meditation.
- Wheels: Yoga wheels are a newer prop that can help open the chest, improve balance, or assist in deeper backbends.
- Chairs: Yep, a simple folding chair can be a prop, especially in Iyengar yoga, where it’s used to help you get into poses without losing alignment or stability.
Discover our latest blog, What Equipment Do You Need to Start Practicing Yoga at Home? for more details about the essential props used in home yoga practice!
Now that we’ve got the basics down, let’s talk about how to actually use these props in your yoga practice.
How Props Can Help Your Practice
Before we dive into specific props and poses, let’s take a moment to appreciate why using props is a game-changer. A lot of people think using a prop is somehow “cheating,” but that couldn’t be further from the truth. Props can actually enhance your practice in several ways:
- Increase Accessibility: Yoga is for everybody, and props make that possible. Whether you have tight hamstrings, stiff shoulders, or an injury, props help you modify poses to suit your body’s needs.
- Improve Alignment: Using a block or strap can help you find proper alignment in tricky poses, preventing injury and making sure you’re getting the most out of each asana.
- Deepen Flexibility and Strength: Props can help you go deeper into stretches without compromising your form. They also add resistance or support, allowing you to build strength in a safe way.
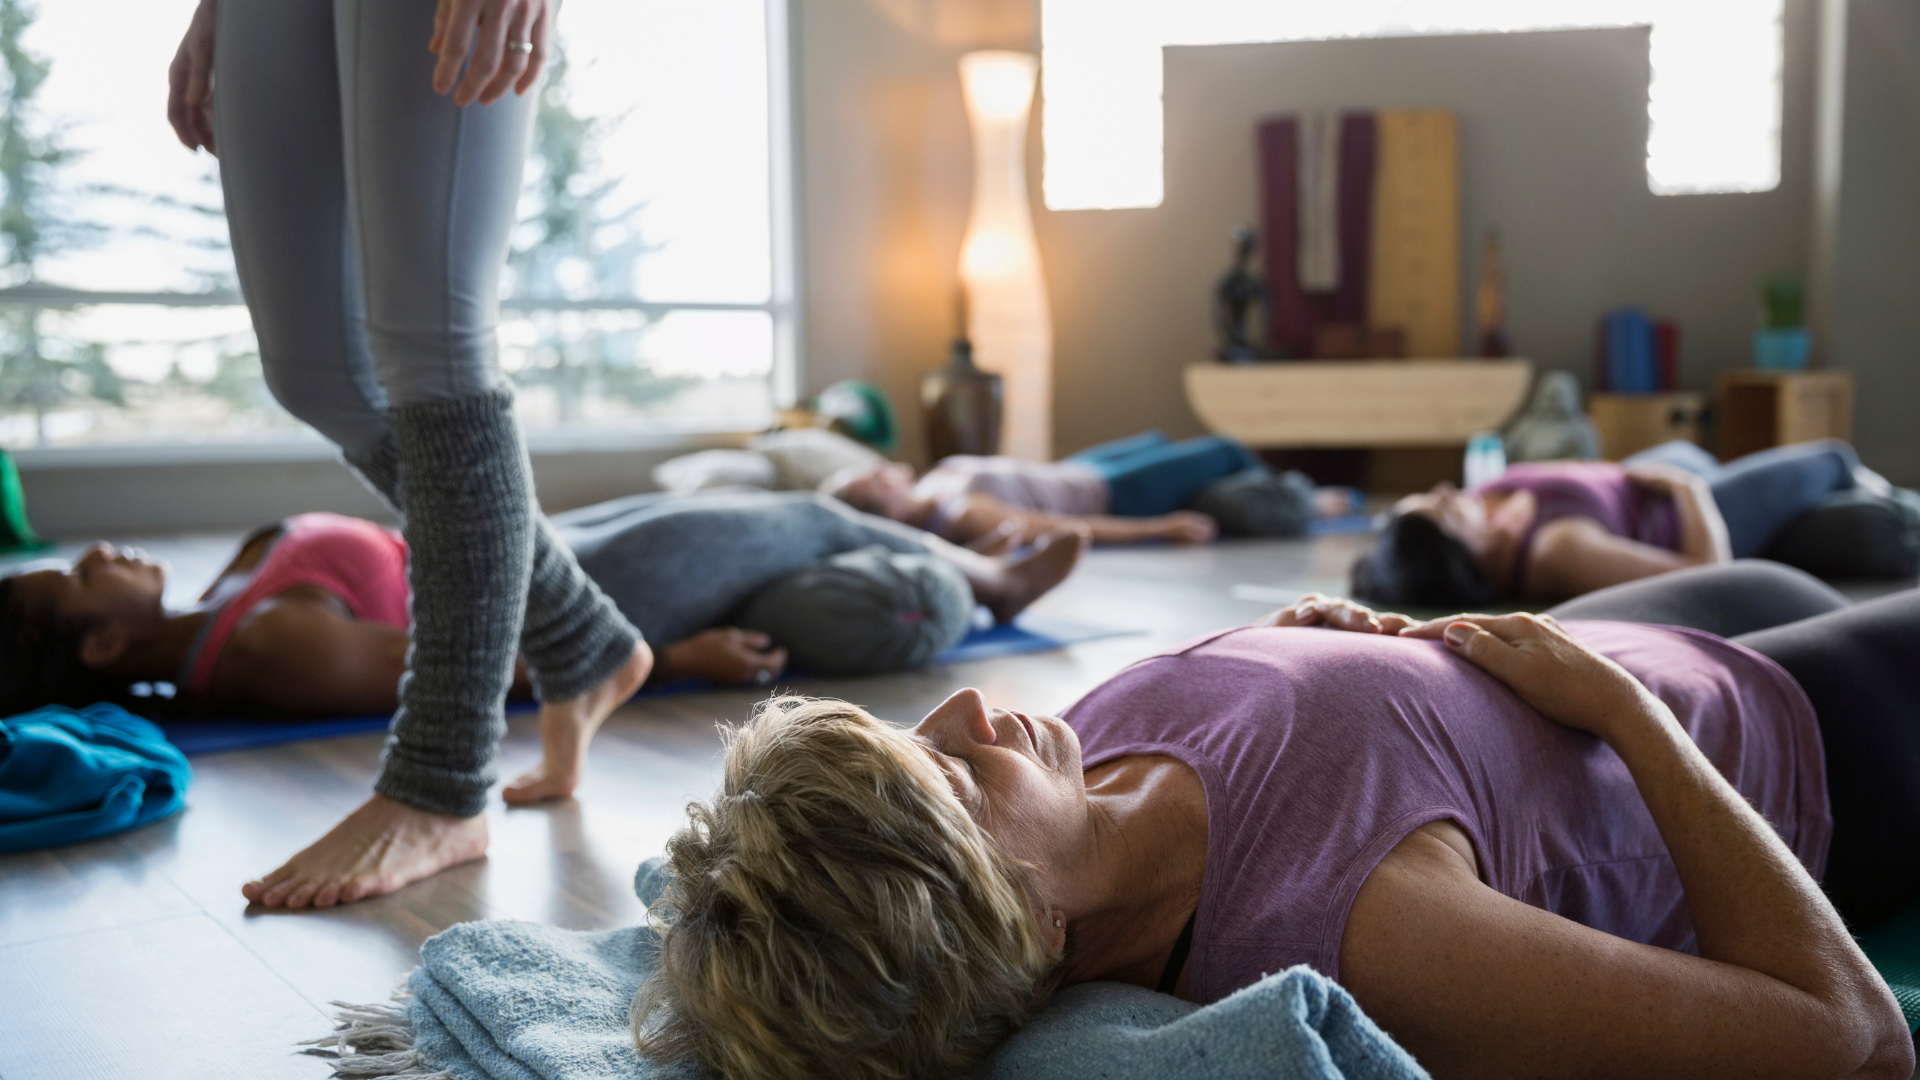
- Encourage Relaxation: In restorative and yin yoga, props are often used to support the body so you can completely relax into poses. This helps to release tension and stress while still benefiting from the practice.
- Boost Confidence: Let’s be real—some poses are intimidating. Props give you the support you need to try new poses without the fear of falling or straining.
Elevate your practice with our regular online yoga classes designed to teach you how to effectively use props for deeper, safer stretches.
Alright, now let’s get into the fun part: how to actually use these props in your practice!
Blocks: Bringing the Ground to You
Blocks are probably the most commonly used prop in yoga, and for good reason. They help “bring the ground closer” to you in standing and seated poses, making it easier to maintain proper alignment.

Here’s how to use them in some popular poses:
- Trikonasana (Triangle Pose): If your hamstrings are tight or you find yourself rounding your spine in Triangle Pose, grab a block! Place the block on the inside or outside of your front foot, and rest your hand on it. This helps keep your chest open and your spine long, without straining to reach the ground.
- Ardha Chandrasana (Half Moon Pose): Half Moon Pose can be a little wobbly, but using a block for your hand adds stability. Place the block on the floor under your lower hand, adjusting its height to where you feel most steady. This helps you balance while you work on opening your hips and stacking your shoulders.
- Seated Forward Fold (Paschimottanasana): Tight hamstrings? No worries! Sit on the edge of a block to elevate your hips. This simple lift helps tilt your pelvis forward, making it easier to reach for your feet and fold forward without rounding your lower back.
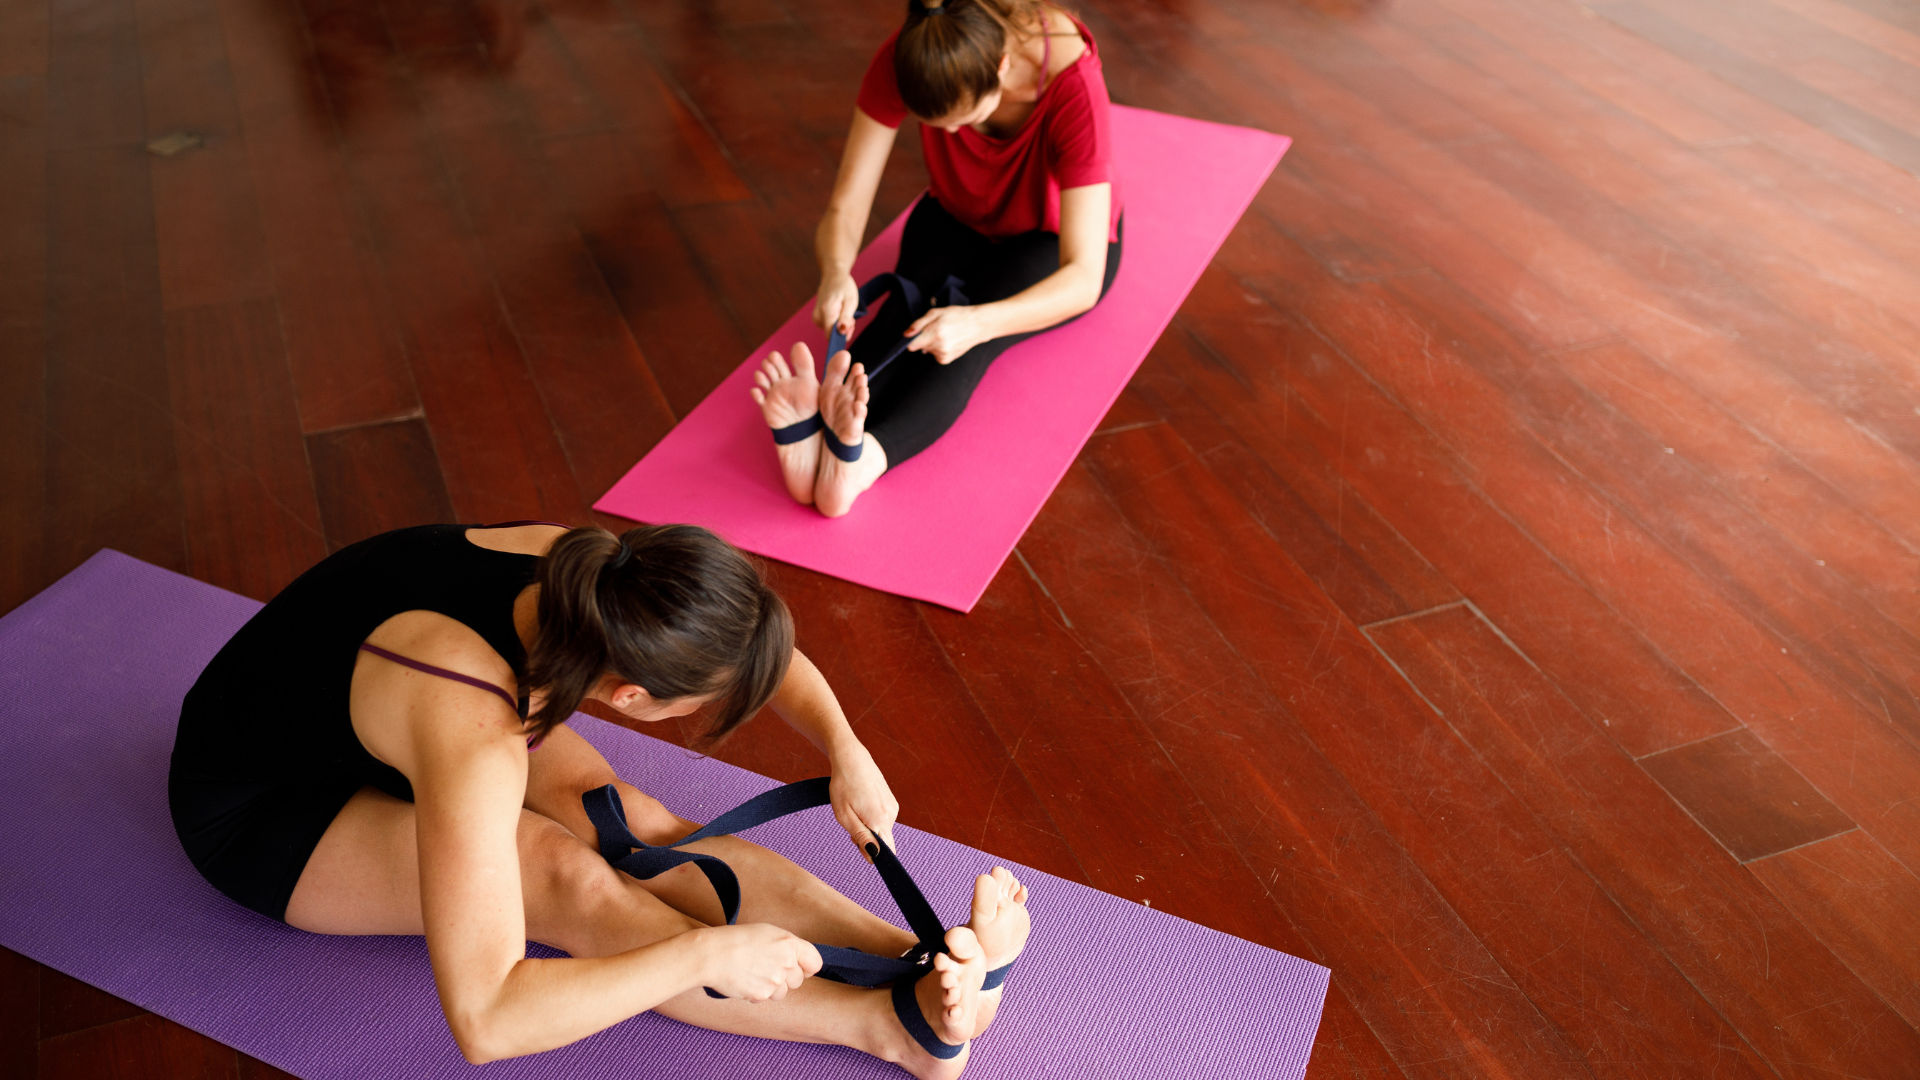
Straps: Extending Your Reach
Straps are like your extra set of hands in yoga. If you’re struggling to reach your feet or clasp your hands behind your back, a strap can bridge that gap, helping you maintain proper form without forcing your body into uncomfortable positions.
Here’s how to use them:
- Seated Forward Fold (Paschimottanasana): Loop a strap around the soles of your feet, holding onto it with both hands. Keep your spine straight and use the strap to gently pull yourself forward. This way, you can stretch your hamstrings without straining your lower back.
- Gomukhasana (Cow Face Pose): If you can’t quite clasp your hands behind your back in this shoulder opener, use a strap! Hold one end in your top hand and the other end in your bottom hand, working to walk your hands closer together over time.
- Supta Padangusthasana (Reclining Hand-to-Big-Toe Pose): In this supine pose, loop the strap around the ball of your foot to lift your leg up without rounding your back. This is an awesome way to work on hamstring flexibility without putting pressure on your spine.
Bolsters: Full-Body Support
Bolsters are the ultimate prop for comfort and relaxation, making them perfect for restorative and yin yoga practices. These firm cushions support your body in gentle, passive poses, allowing you to fully relax and release tension.
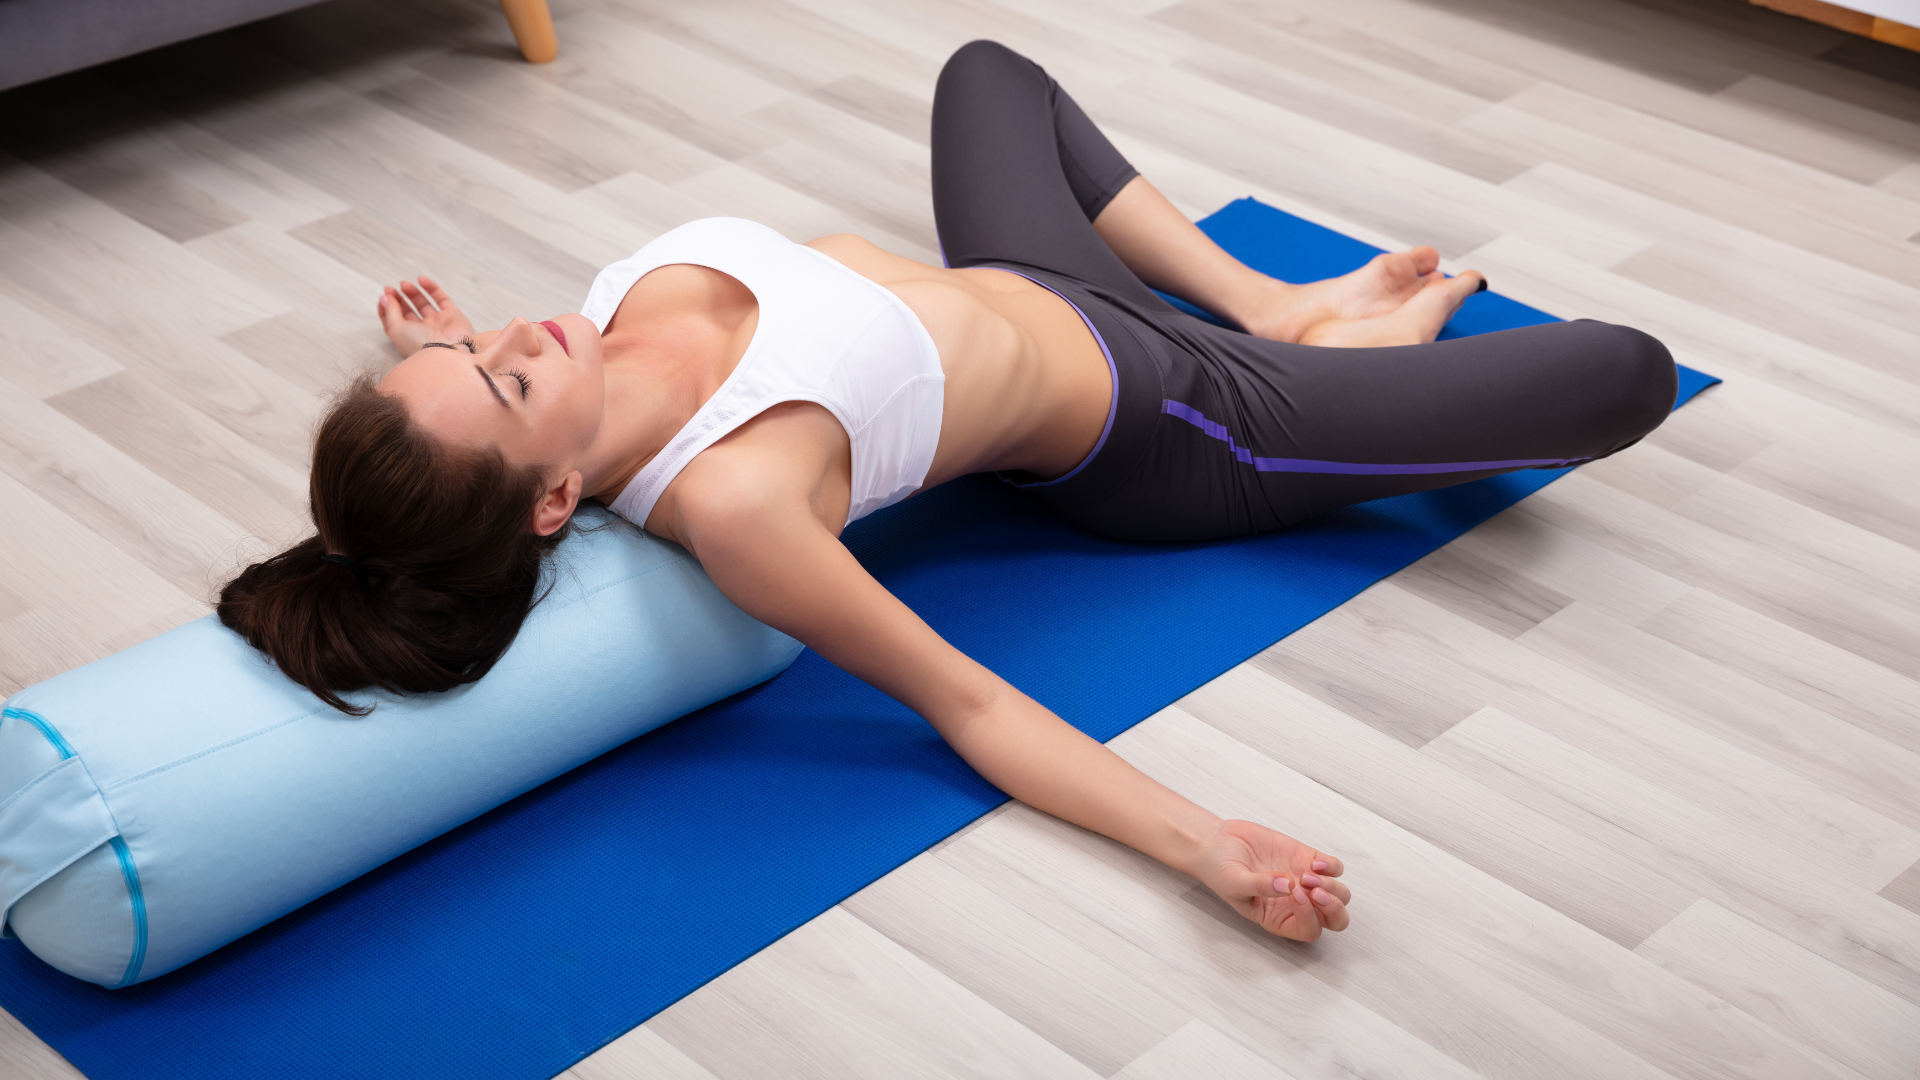
Here’s how to use a bolster to your advantage:
- Supported Child’s Pose (Balasana): Place a bolster lengthwise in front of you, and rest your torso on top of it as you come into Child’s Pose. Turn your head to one side and allow your body to fully relax. This gentle support is incredibly calming and helps release tension in your lower back and hips.
- Reclined Bound Angle Pose (Supta Baddha Konasana): Place the bolster lengthwise behind you, and lie back so it supports your spine. Bring the soles of your feet together and let your knees fall open. The bolster supports your chest and back, helping to open your heart and hips without straining.
- Legs-Up-The-Wall (Viparita Karani): Place a bolster under your hips as you lie on your back with your legs up the wall. This gentle inversion helps to relax the lower back, calm the nervous system, and improve circulation.
Blankets: The Soft Touch
Blankets might seem simple, but they’re incredibly versatile. You can fold or roll them up to provide extra support, cushion sensitive areas, or make certain poses more accessible.
Here’s how to get cozy with a blanket:
- Knee Support in Lunges: If you’ve got sensitive knees, place a folded blanket under your back knee in low lunges like Anjaneyasana. This adds some cushioning and helps prevent discomfort while you hold the pose.
- Seated Postures: Sitting directly on the ground in poses like Sukhasana (Easy Pose) or Padmasana (Lotus Pose) can sometimes cause your lower back to round. Sitting on a folded blanket elevates your hips, helping you maintain the natural curve of your spine.
- Savasana (Corpse Pose): At the end of your practice, use a blanket to cover yourself in Savasana for extra warmth and comfort. You can also roll up a blanket and place it under your knees or neck for added support.
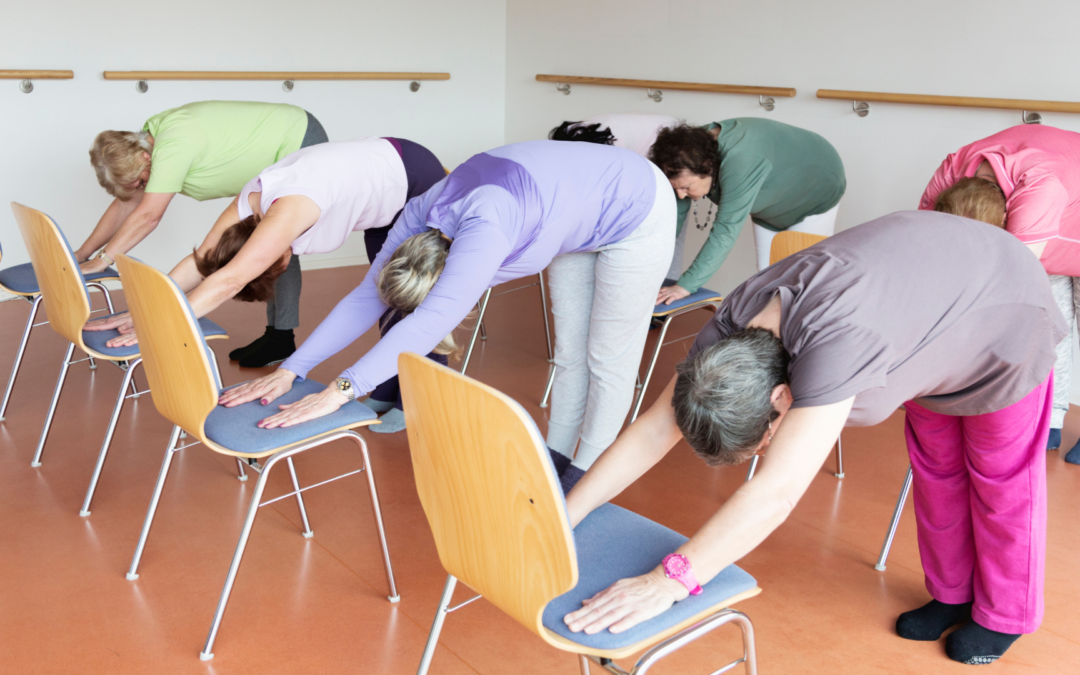
Chairs: Seated Stability
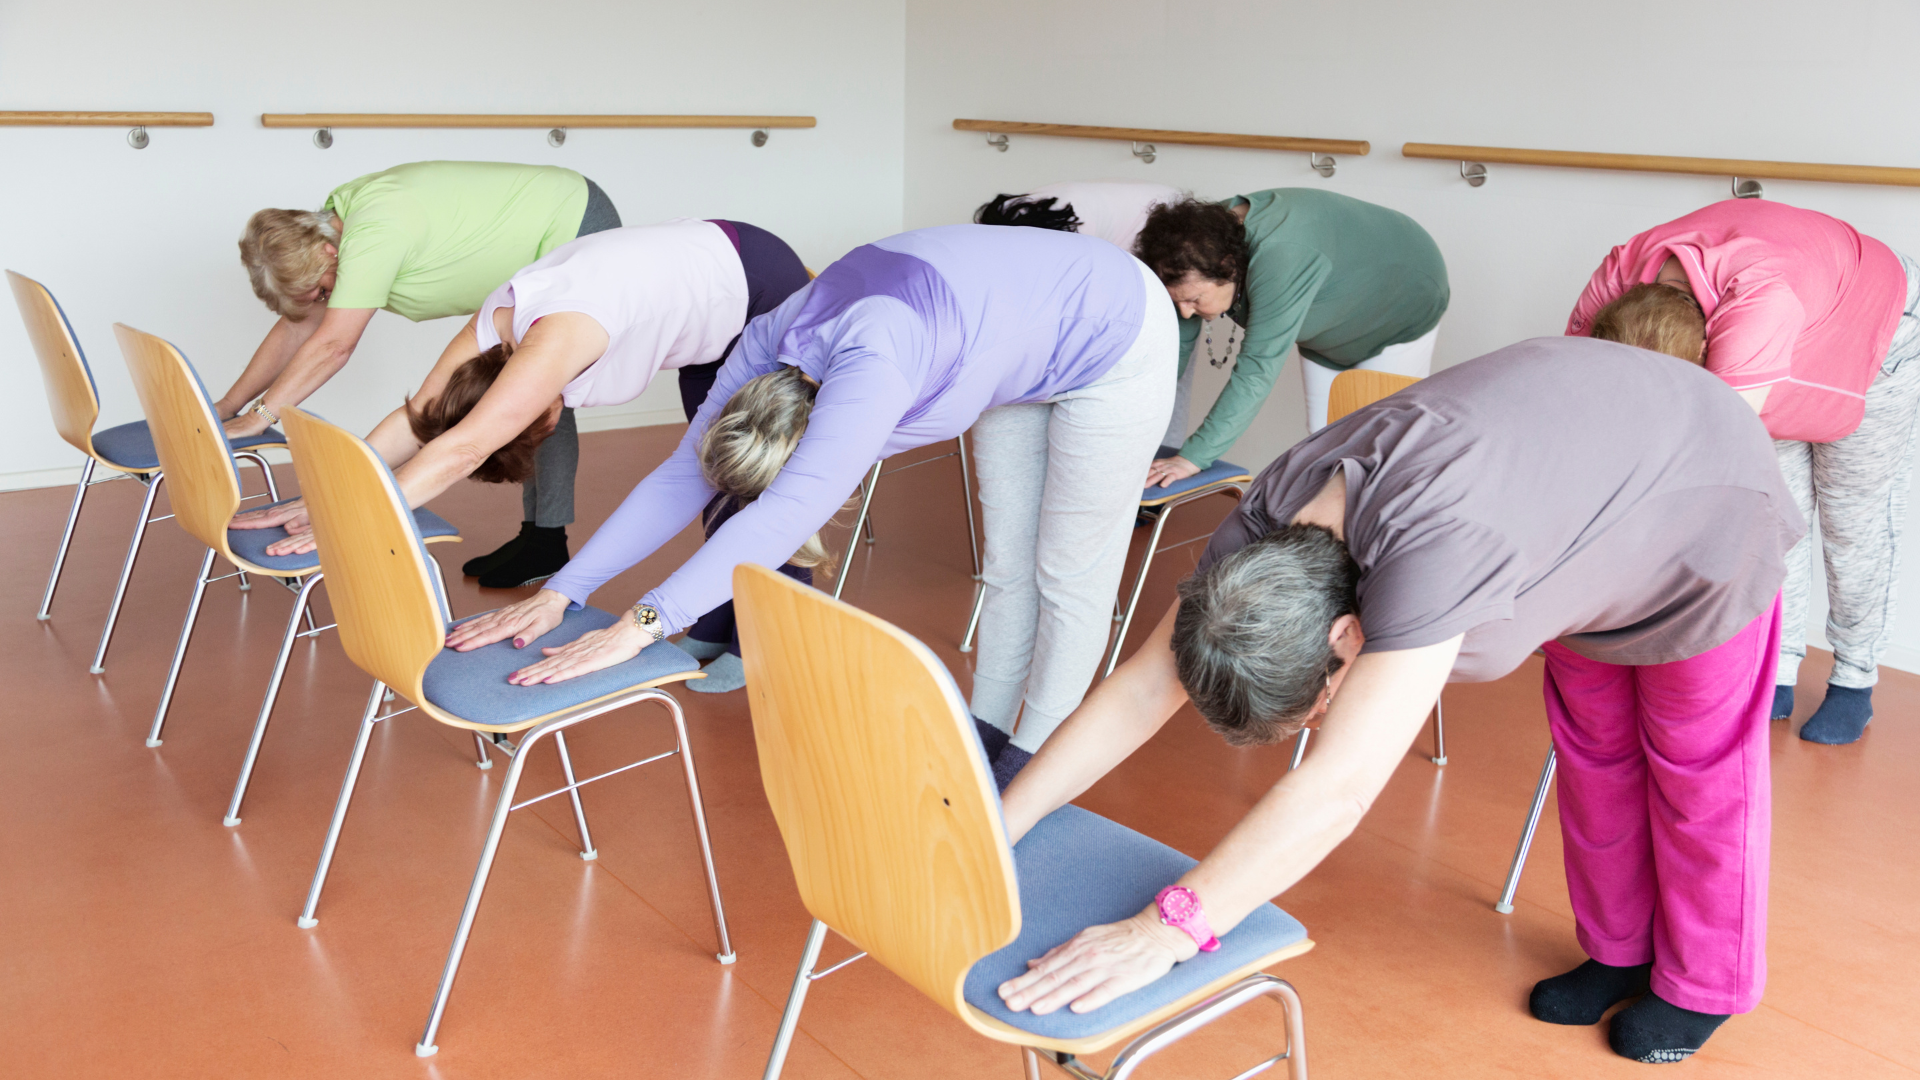
Chairs might not be what you think of when it comes to yoga props, but they’re incredibly helpful, especially if you have limited mobility or balance issues. A chair can make yoga more accessible, and it’s not just for seated poses. Here’s how to incorporate a chair into your practice:
- Chair-Assisted Warrior I (Virabhadrasana I): If balancing in Warrior I feels unstable, try holding onto the back of a chair for support. This helps you find your balance and work on proper alignment in your legs and hips.
- Chair-Modified Forward Fold (Uttanasana): Stand facing the back of a chair and place your hands on it as you fold forward. This allows you to keep your spine long without the pressure of folding all the way to the ground.
- Seated Twist: Sit sideways on a chair with your feet flat on the floor. Hold onto the back of the chair and gently twist your torso to one side. This gives you a safe, supported twist without straining your spine.
Discover personalized guidance in personal yoga classes online, perfect for mastering prop usage and enhancing your yoga journey from home!
Final Thoughts
Yoga props are an awesome way to make your practice more accessible, supportive, and comfortable. Whether you’re using blocks to reach the floor, a strap to deepen a stretch, or a bolster to relax fully into a pose, props help you connect with your body in new ways. Remember, using props isn’t about making your practice easier—it’s about practicing smarter and with more awareness.
So next time you unroll your mat, grab those props and give yourself permission to explore the poses with support. Your body and mind will thank you!
Inquiry
If you have any questions, please feel free to reach out. We’ll be glad to help!